Patelleo-Femoral Pain Syndrome / Runner's Knee Treatment in Adelaide
The Resilient Knee Project is an innovative solution for people with chronic knee pain that empowers individuals to self-manage their pain and most importantly, get them back to enjoy the physical and mental benefits of running.
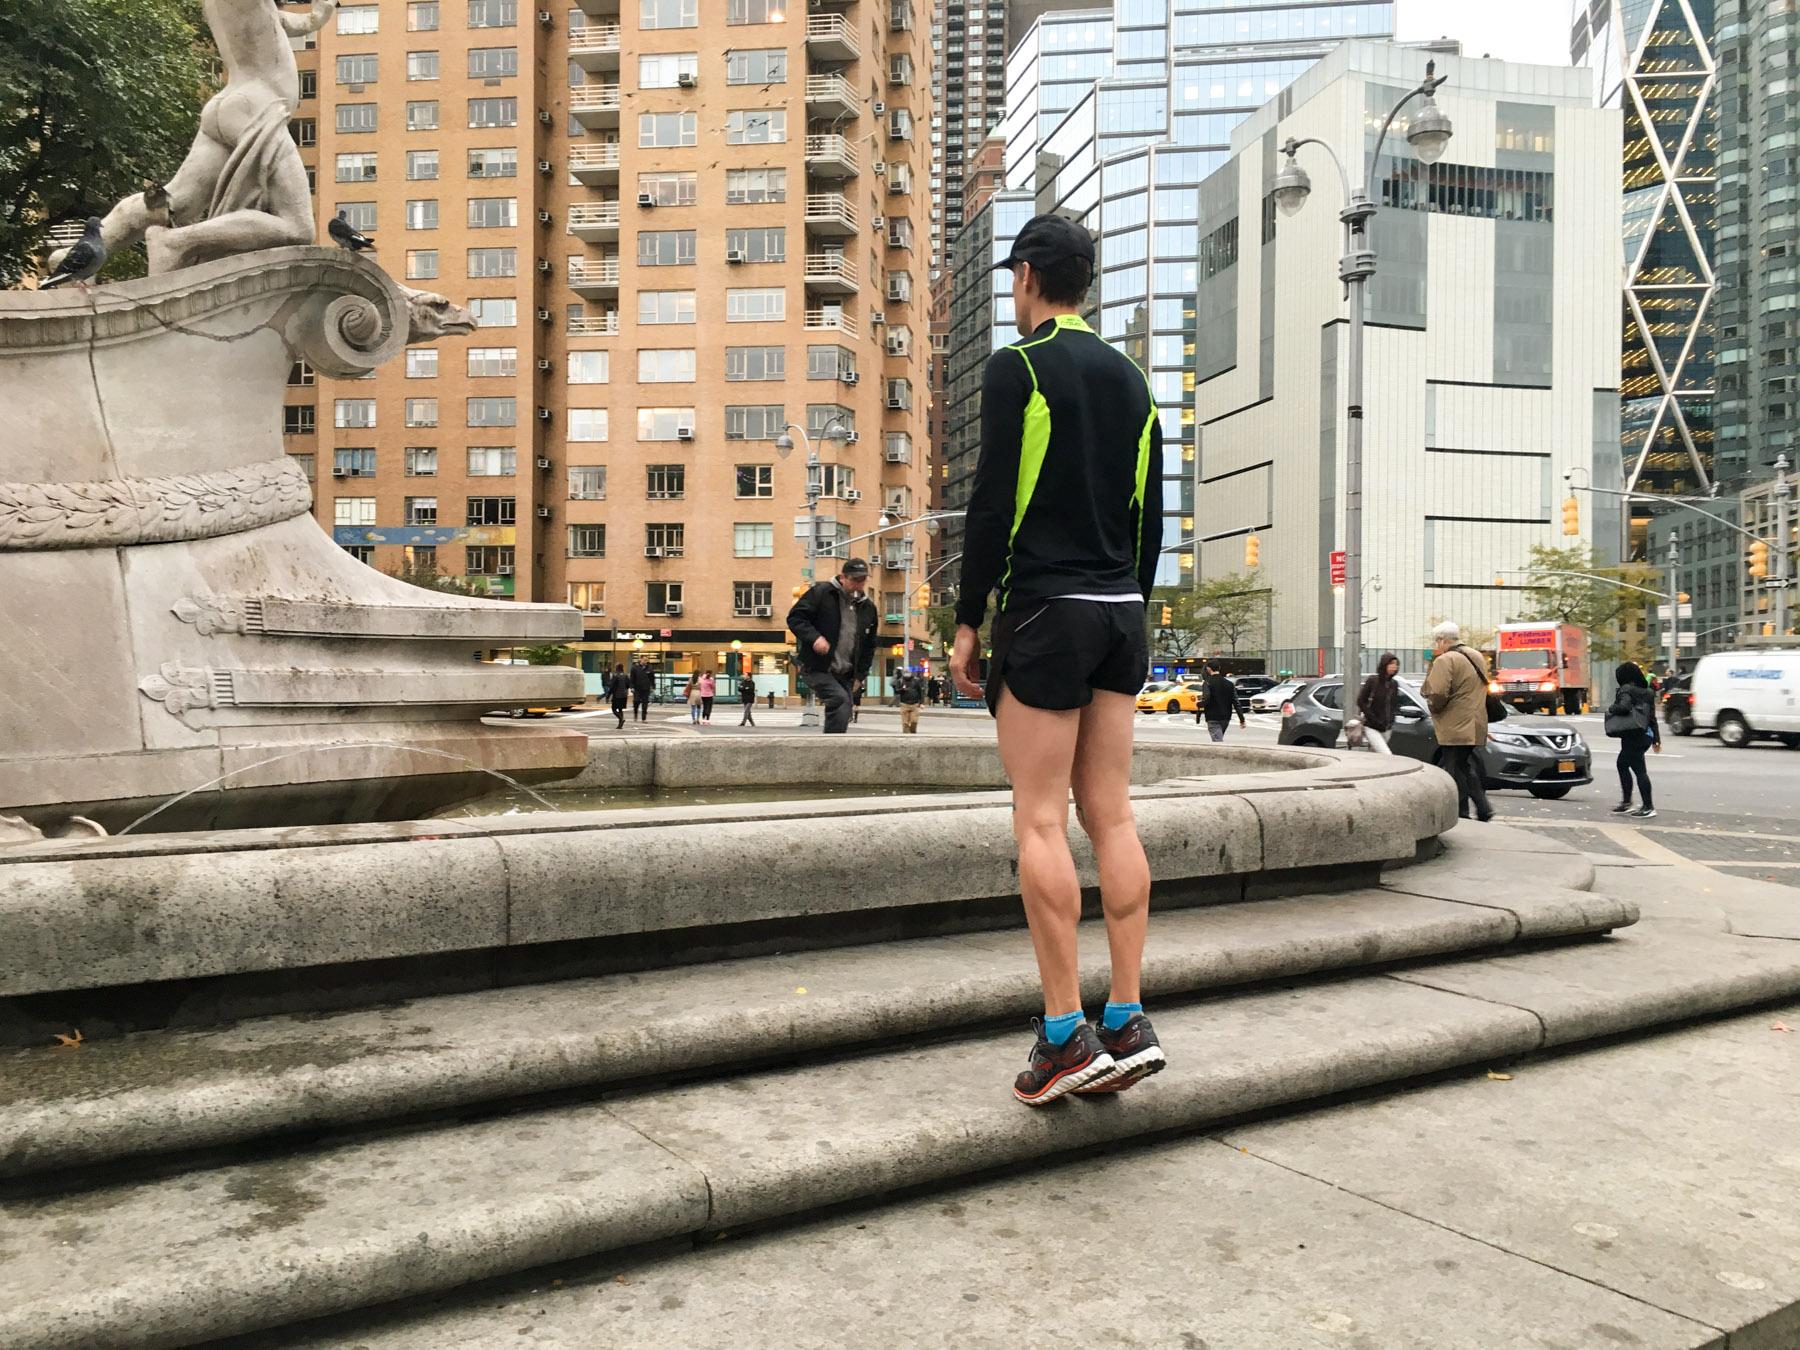
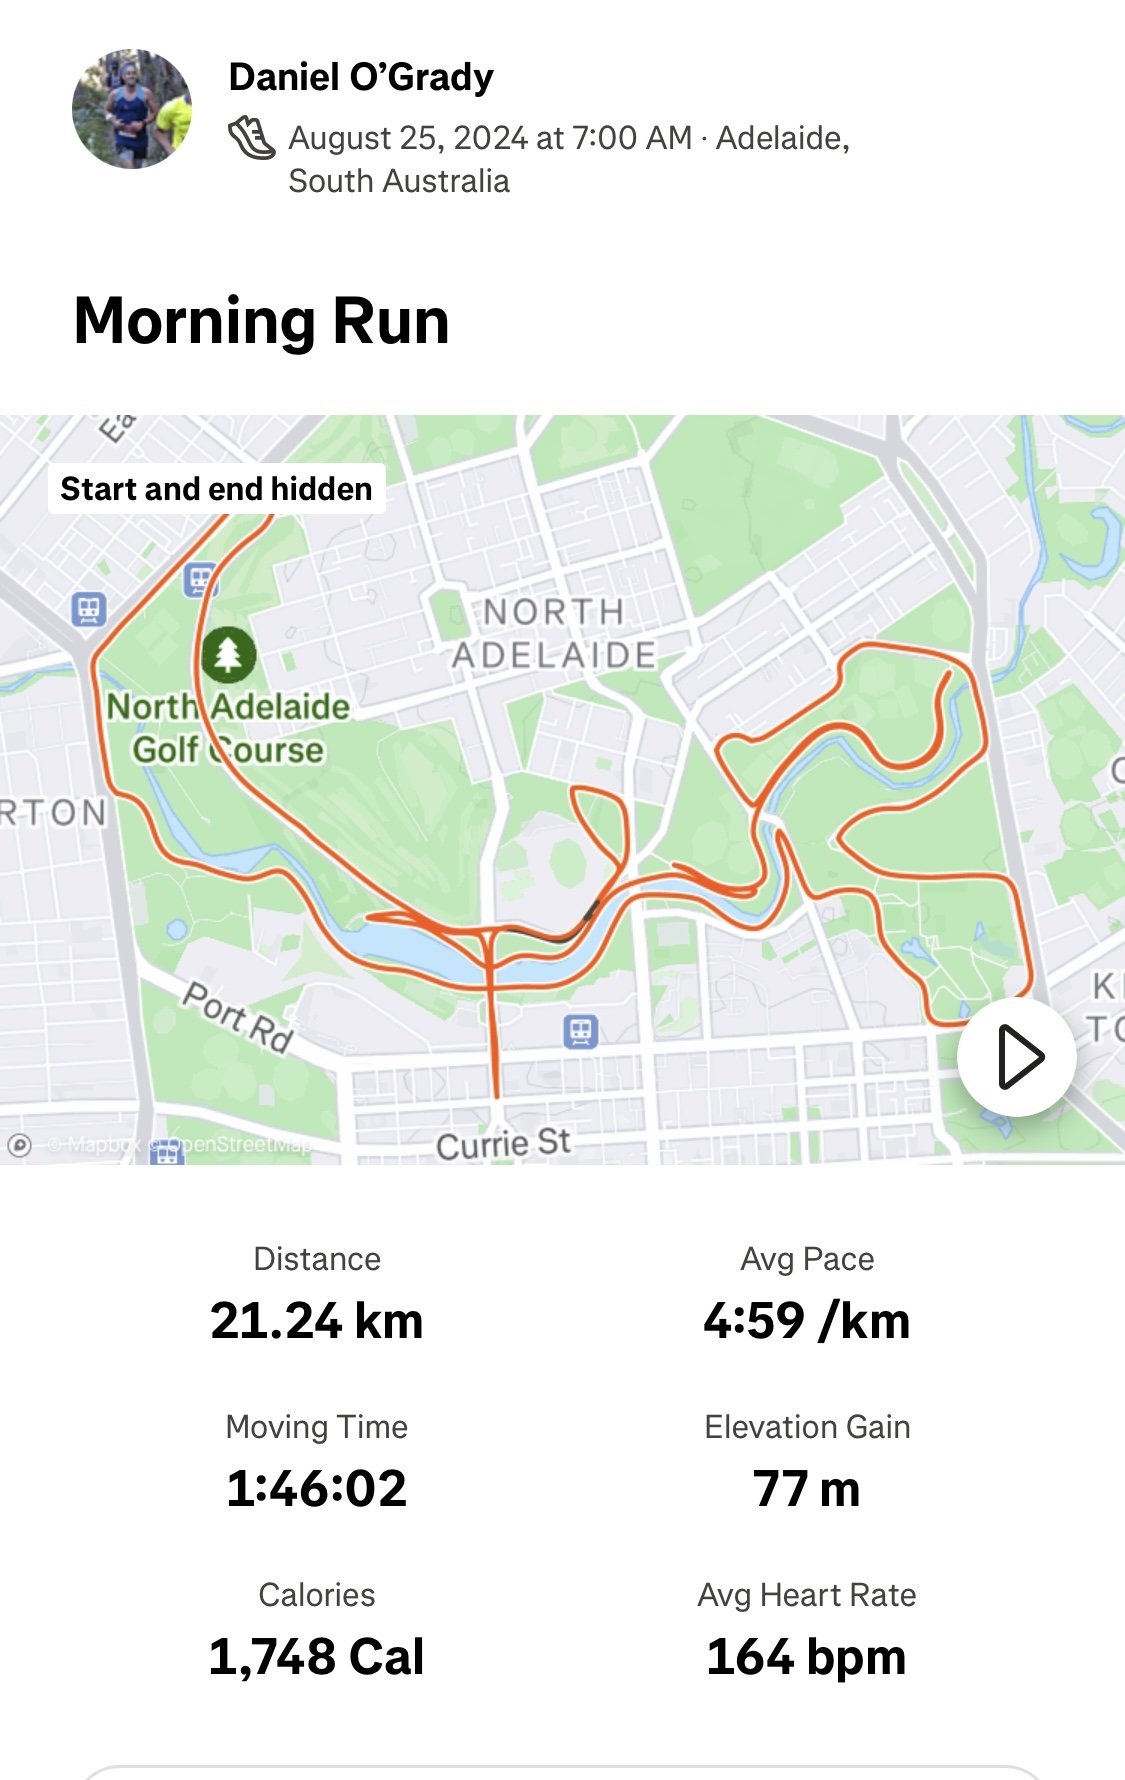
Founded by Daniel O’Grady, dedicated professional with first hand experience of overcoming knee pain and running the NYC Marathon, the project aims to be a world leader in restoring people’s confidence in their knees and get back to doing what they love.
Is The Resilient Knee Program right for you?
Start a conversation with our new Chat Bot HERE
What is Runners Knee (Patellofemoral Pain PFP)?

Patellofemoral pain (PFP) is a common condition where pain is felt on the front of the knee, either around or behind the patella.
It occurs in up to 20% of the population (1).
The patellofemoral joint is made of the kneecap (patella) sitting on the front of the thigh bone.
The patellofemoral joint functions as a pulley system to help the quadriceps muscles straighten the knee most efficiently.
There are around 20 muscles that hold the patella centred and aligned.
Pain often results when there is excessive compression on the patella or a muscle imbalance around the patella causes misalignment of the patella.
Over time, this causes rubbing of the joint surfaces, creating inflammation and pain.
What are the most common symptoms of PFP?
general ache/pain in the front of the knee
pain aggravated activity involving a bent knee and body weight on the leg (e.g. walking up and down stairs, squatting, kneeling, jumping or hopping)
pain aggravated by sitting for prolonged periods e.g. driving or sitting in a movie theatre.
some people also hear and feel a grinding / clicking around the knee with mild swelling
An x-ray or MRI is not usually necessary to diagnose PFP.
Patello-femoral pain is often mis-diagnosed as knee osteo-arthritis in young people, due to the deep ache that is often felt.
An assessment by a Physiotherapist will help to clarify your diagnosis.
Who is most likely to be affected by PFP?
The main risk factor for developing PFP is recent spike in training load.
PFP is common in:
runners
cyclists
triathletes
cross fitters
football, basketball, jumping sports
hikers (especially going downhill)
Biomechanical issues that can predispose to PFP include:
weakness in glutes, quads (VMO), core, calves
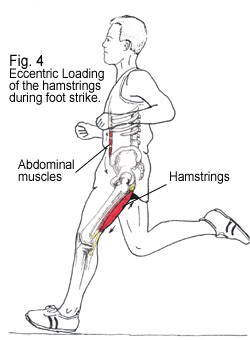
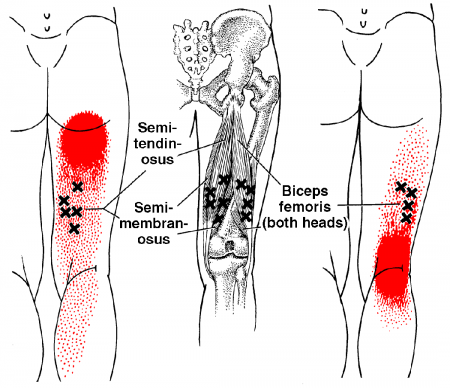
tight ITB, TFL, quads (outer), hamstrings, calves
stiffness in ankles (e.g. post ankle sprain)
stiffness in the hip joints / hip flexors
runners with who predominantly heel strike
White et al (2009) showed that patients with patellofemoral pain had shorter hamstring muscles than asymptomatic controls.
What is the most effective treatment?
There is strong evidence to support a tailored physiotherapy (including exercise, education, taping), compared to placebo in the short (six weeks) and long-term (one year).
Evidence shows a personalised exercise program (combination of stretching and strengthening) gives the best long term outcomes.
Ideally this exercise program is set up by a Physiotherapist after a comprehensive assessment.
How long until I feel better?
As our understanding has grown, it has become clear that PFP is not necessarily something that will disappear on its own, and some people can have episodes on and off for many years.
As such, in order to have the best chance of recovering from your PFP and reducing the likelihood of it recurring, it is important to understand your condition, your individual contributing factors and what you can do.
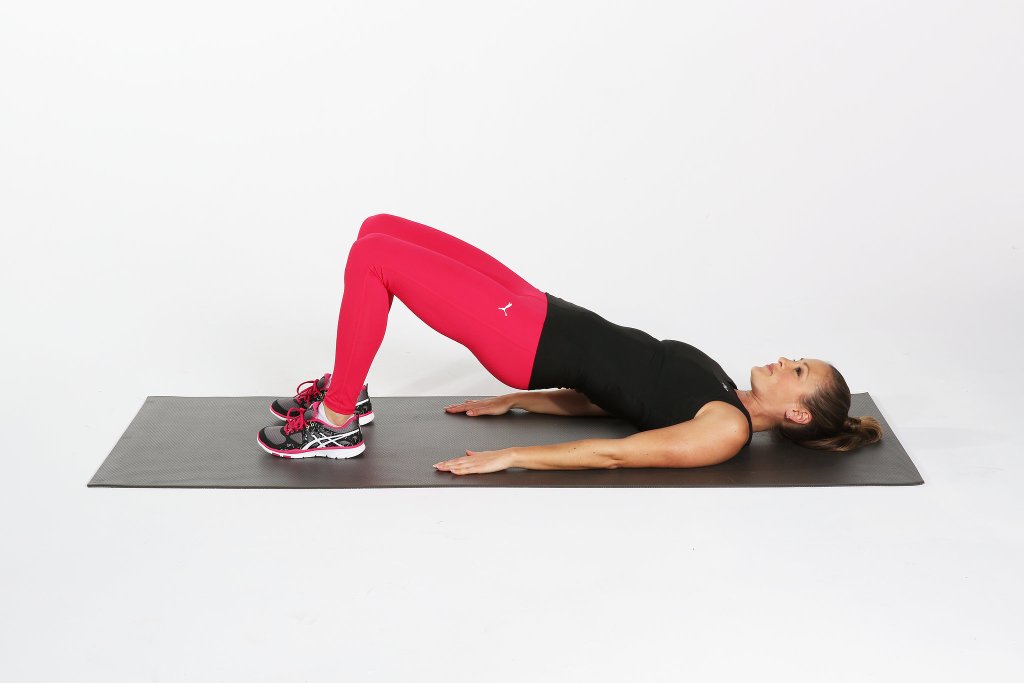
For many people, a program of ongoing and progressive exercise (as prescribed by your physiotherapist) is necessary to build and maintain muscle strength, and good movement coordination.
Additionally, there is evidence suggesting that people with PFP may have an increased risk of going on to develop patellofemoral osteoarthritis (OA). Therefore, seeing an experienced physiotherapist for a management program will help you keep your patellofemoral joints functioning as well as possible, and keep you as active as you’d like to be now and into the future.
What can I do?
avoid aggravating activities
ice your knee to eliminate the inflammation (15 mins x 2 day for 2 weeks)
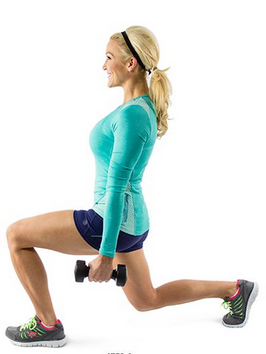
home exercises - foam rolling (see below) and strengthening
For Runners:
avoid hills
cut back on your running mileage
increase your cadence by 5-10%
check your shoes - time for a new pair?
focus on cross training - swimming, pilates, yoga e.t.c.
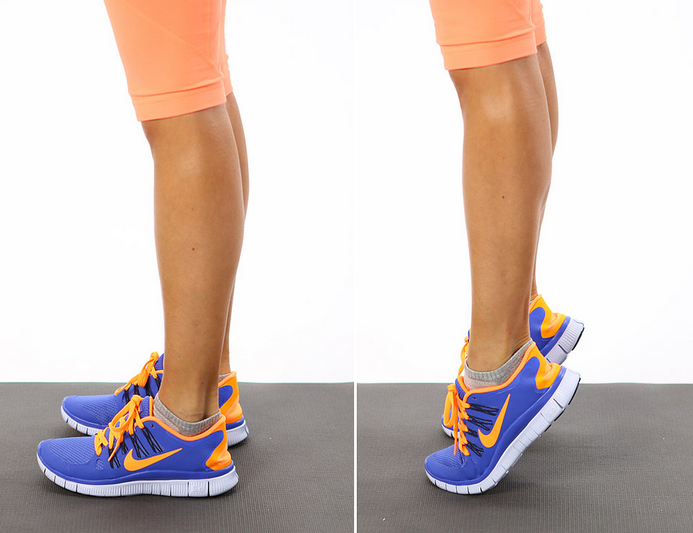
Some of the common foam roller exercises we prescribe:

Calf

Hamstring

ITB

Quads
How can a Physiotherapist assist with recovery?
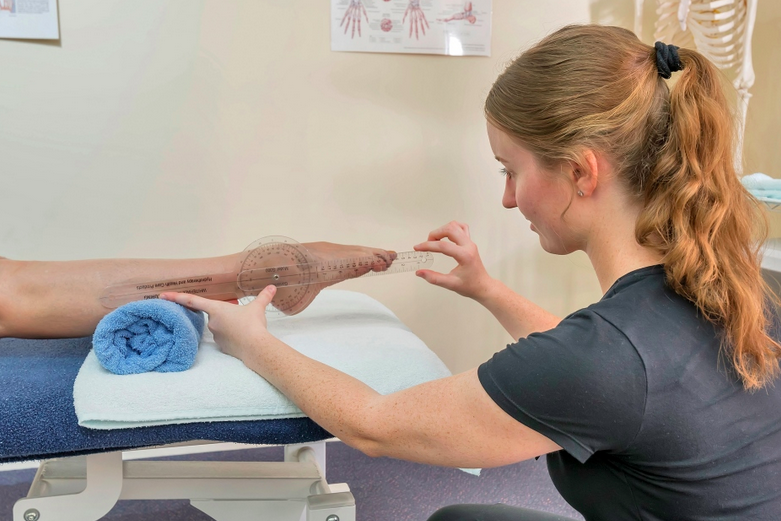
1. Assessment and Diagnosis
A Physio Assessment early on in your journey pays big dividends in terms of identifying relevant contributing factors and helping you get on the fast track to healing.
We spend a lot of time in the beginning educating you so you know what to expect in terms of recovery and what you need to do, to manage your recovery successfully.
2. Dry Needling / Massage and Taping
Generally a short burst of targeted hands manual therapy over 3-4 sessions will help re-set your tissues, balance the muscles around the knee and get you into a position where you can confidently self-manage.
Muscles that are commonly tight and affecting your knee include:
ITB
TFL
hamstrings
quads and calves
Foam rolling and spiky ball massage are effective at maintaining flexibility, but dry needling has the ability to get to the deeper part of the muscle and get a more effective release.
Find out more about dry needling here.
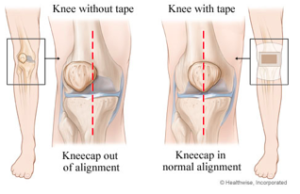
We can also show you how to tape your knee to provide relief in the short-term.
3. Guidance on load management
We will give you advice on how to gradually re-load your tissues to safely protect your knee from future flare-ups. We work with your coach or trainer to manage your return to doing what you love.
4. Building a personalised home exercise program
You are the most important part of the healing process and what you do is the most important part getting you better.
We use the convenient Physitrack App to build your personalised home program with videos delivered to your smart phone.
5. Movement Re-Training
Once your pain is under control we then watch how you move and optimise your movement patterning to decrease the chances of the knee pain returning.
People with patello-femoral pain are often hip flexor and quadricep dominant and need to learn how to activate the glutes and hamstrings.
We have some specific exercises to show you to help you fast track this process.
Is Knee Pain or Injury keeping you from being as active and healthy as you want?
Don't delay your treatment...
The occasional ache or pain may be nothing to worry about, but failing to pay attention to strong pain may end up causing you a lot of problems in the future. If knee pain is reducing your ability to take part in the activities your normally do, then it is time to get it looked at. In general, chronic knee pain or clicking that is affecting your life is a sign that something is wrong.
A serious problem will not correct itself, and left untreated, can result in more pain and irreversible damage.
Bookings:
If you think we are the right fit for you and you wish to get relief right away, use our simple online booking system to make an appointment. If you would prefer to speak to us directly, call us 1300 657 813
References:
1. Boling M, Padua D, Marshall S, et al. Gender differ- ences in the incidence and prevalence of patellofe- moral pain syndrome. Scand J Med Sci Sports 2010;20(5):725–30.
2.
Wood L, Muller S, Peat G. The epidemiology of patellofemoral disorders in adulthood: A review of routine general practice morbidity recording. Prim Health Care Res Dev 2011;12(2):157–64.

Dan O'Grady is a results driven qualified Physiotherapist and member of the Australian Physiotherapy Association. Dan has a special interest in treating knee pain. He has been working in private practice for 15 years with (over 20,000 patient consults). He is passionate about helping people to move better, feel better and get back to doing what they love.
Other blogs to help with your knee pain and get your performing at your best: