Back

An Exercise For Tight Hip Flexors That Works Better Than Stretching

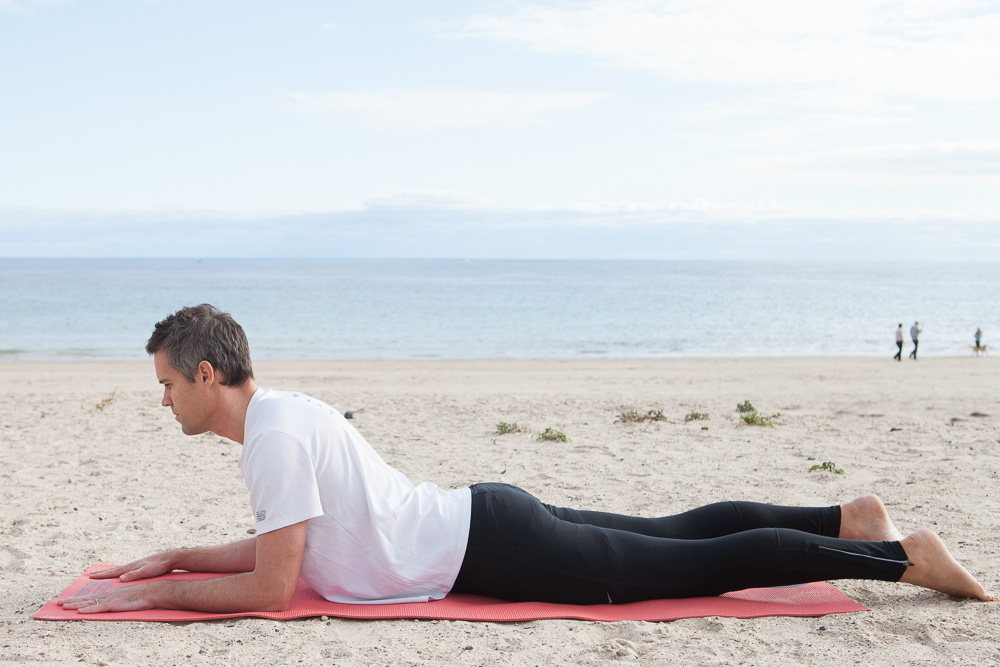
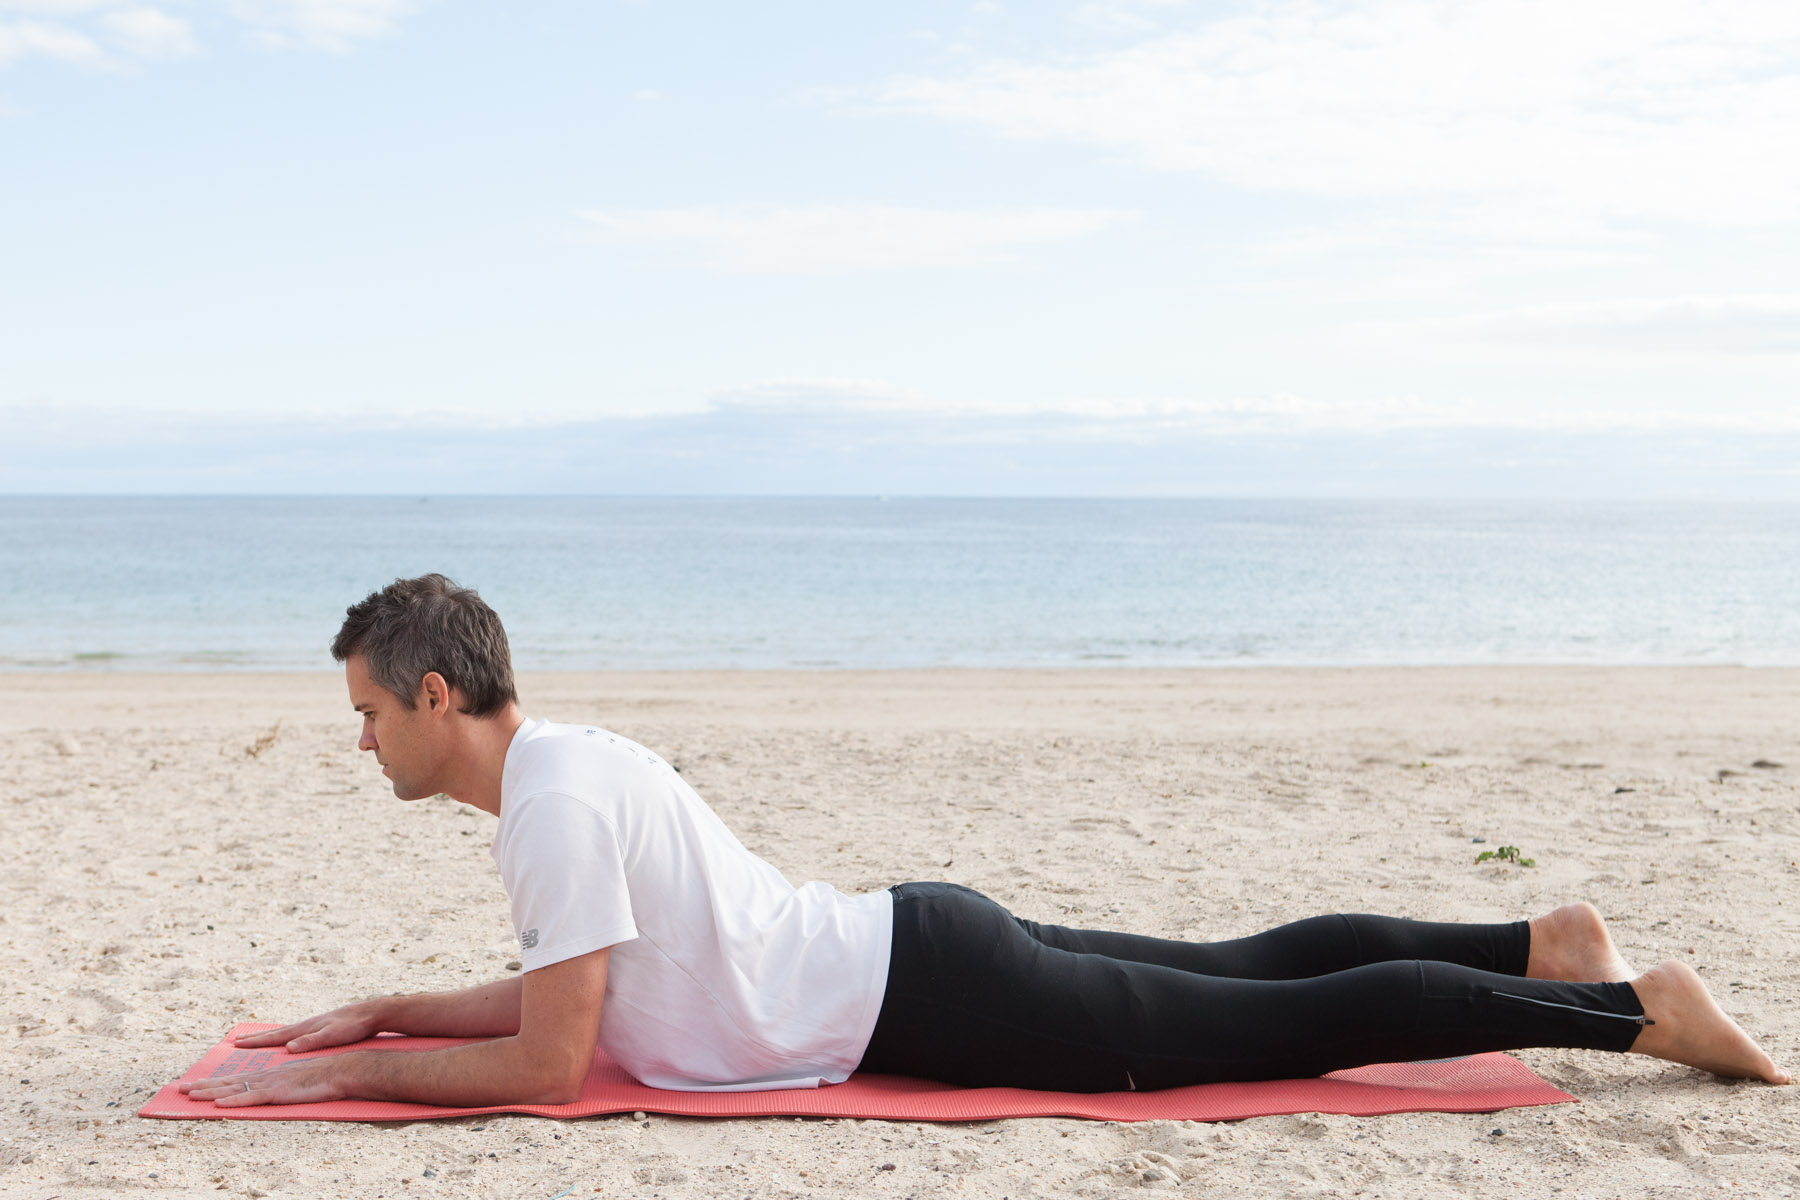
It's 'Global Running Day'... One of my fav exercises for runners, especially those with issues with their hips.

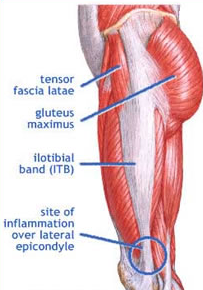
This drill will build capacity in the hip flexors (TFL, rectus femoris and iliopsoas), an important group of muscles for running. 

Like the hamstrings, the hip flexors often end up in constant 'protective mode' due to weakness and lack of strength.  Sitting all day tends to make them tight as hell.

This exercise will help get to the root cause of your tight hip flexors and also help to switch on your glutes.

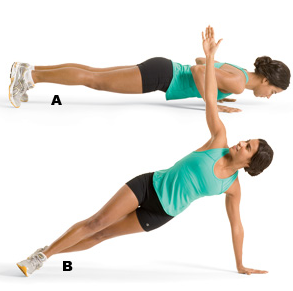
Stand with theraloop around the middle part of your feet.
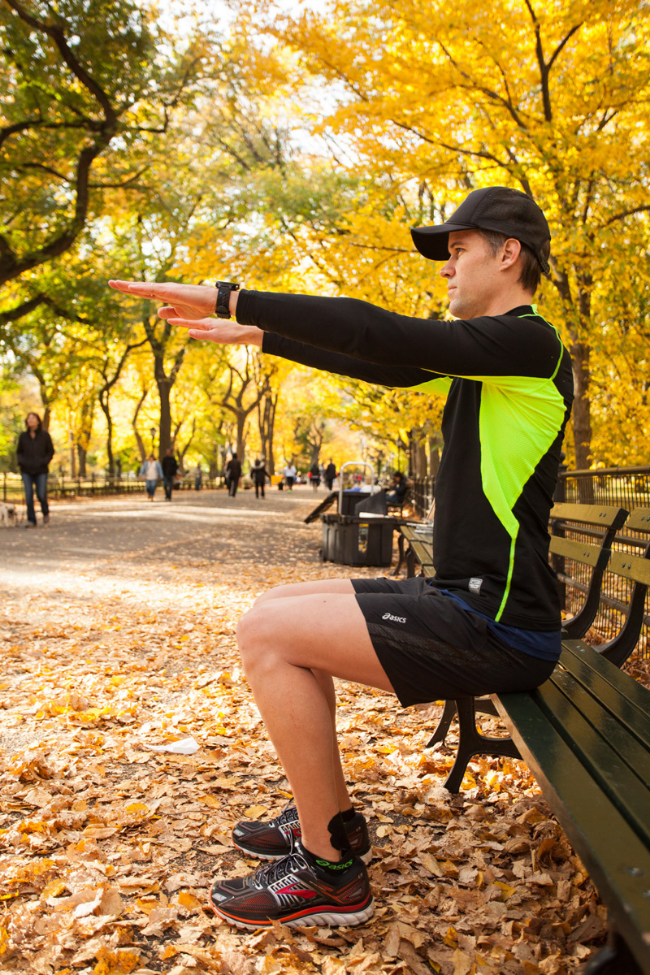
Drive one knee up so your thigh is parallel to the ground while also activating your core.


Important ➡️The weight bearing leg drives down⬇️ to the ground, strongly activating the gluteals. ✅This will help improve your running efficiency and gluteal activation on push off.


Happy Running!


#globalrunningday #runnersbody #runnersworld #runnersofinstagram #running #runningcommunity #resilientrunner #runforlife #runningtherapy #runninginspiration

5 Ways To Protect Your Lower Back During Yoga

Yoga provides many benefits to the body, mind and spirit.  Without a doubt, yoga helps form the basis of a good movement foundation.  The postures, breathing and intuitive style can bring deep relaxation and alignment to the body. 

But if you go into Yoga with the idea that is completely safe, you may need to re-adjust your expectations.

At first glance, Yoga may seem less risky than other sports such as running and football.  However, like any other form of movement, Yoga can place stresses on the body that if not well understood can lead to injuries, frustration and ongoing pain. 


This blog post was written in the hope that you will get the maximum benefits out of your yoga practice and keep yourself safe in the process. The following information is based on my experience as a Physio treating people who have experienced issues in their yoga practice.


1.  Check your ego at the door;  don't push your body too far past it's limits.

Awareness and mindfulness are the foundation of keeping your body safe. 

Listen to your body.  This can be difficult, especially in a class situation.   In the clinic, we commonly hear of someone who, when feeling good in Yoga, just pushes themselves a little bit too far and feels something 'pop' or maybe they wake up the following day with a new pain. 

I understand that progressing your practice involves pushing your body a little bit further and testing the boundaries.  Finding the right balance is always a challenge.  Naturally there will be some soreness and (hopefully) only minor injuries.  But there is a difference between slowly and safely progressing your practice under the supervision of an experienced teacher and taking things too quickly and overloading the body.

It takes great patience and respect of your body to be able to gently improve over time

Try and aim for the mid-zone (see picture below) that will give you the benefits from your practice, without the risk of injury.  A good teacher can be invaluable to guide you and most importantly, pace you at a level that is appropriate for you.

From the book, The Story of the Human Body, Daniel Lieberman

From the book, The Story of the Human Body, Daniel Lieberman

Pay close attention to how your feel during your class in certain positions, straight after class and then the following morning.  Keeping a diary may help you identify certain triggers.

Signs that you may have pushed your body too far:

- acute pain or pain that niggles for more than a few weeks

- sharp, shooting pain that gets worse with movement

- numbness and loss of sensation or pins and needles

- pain at night that keeps you awake


2.  Get yourself assessed before you embark on your Yoga journey.

Don't come to yoga expecting it to magically fix all of your bodily ailments.  If you're in pain or haven't worked out in a very long time, it may be wise to get assessed by a Physiotherapist, who is medically trained to assess your suitability to start a yoga practice. 

Evelyn Krull, Principal Teacher and co-Founder at Yogita Yoga states,

Prior to starting a yoga practice, any back pain should be assessed by a qualified practitioner and ideally the yoga teacher and GP/physio/chiro work in conjunction with each other. Yoga is not able to diagnose or treat but can correct movement patterns and introduce a physical practice that provides for a strong and healthy body during all ages

You may need some specific corrective exercises and treatment and then when you are ready, you can safely maintain your body with Yoga.

Also, if you are new to yoga or having some specific difficulties, it would be wise to have some one on one sessions with your teacher for specific guidance and instructions.


3.  Breathe - proper diaphragm breathing during yoga will help stabilise and protect your spine. 

“If breathing is not normalized, no other movement pattern can be” - Karel Lewit
Screen Shot 2016-06-30 at 12.44.59 pm.png

According to Pavel Kolar, Prague based Physiotherapist and researcher,  abnormal stabilizing function of the diaphragm may be an important cause of spinal disorders.  Please see this article for more details. 

The research has suggested that activation of the diaphragm signals the other deep spinal stabilisers to activate in a coordinated fashion. 

All active yoga postures rely on the development of strong transverse abdominis (TA) muscles which is partly achieved through the deep and full breathing as the diaphragm shares an attachment with the TA and as such, by breathing fully, the TA is toned and strengthened constantly - Evelyn Krull Yoga Teacher

To breathe into the diaphragm, place your hands on your lower ribs and breathe deep, trying to expand your hands away.  You're aiming to expand 360 degrees - from the front, side and back.

Sometimes using a theraband around the lower rib cage can help facilitate the diaphragm activation. 


4.  Focus on flexibility where you need it most.

The Joint-by-Joint approach was coined by Mike Boyle and Gray Cook and provides a general guide to each joints main role in the body.  All joints require a degree of flexibility and stability, but each joint has a major role.  For example:


We can see that the main function of the lower spine is stability. 

It is designed to be a stable core base for the rest of our body to function in the world. 

Stretching the lower back may indeed provide some short term relief from pain, but will do nothing to help in the long run. 

Many yogis become hyper-mobile through their spines and lower back.  This allows excessive movement through the vertebrae. 

This will likely end up leading to overload of the joints, discs, ligaments and muscles. 

The real problem is weakness in your spinal stability muscles and you need to so some specific strengthening to help. 

Often times due to excess sitting, driving and poor posture, the upper back and hips become overly tight, therefore the lower back muscles are forced to do more of the work of movement. 

Rather than always trying to stretch the back out, focus on stretching the upper back and hips and the lower back will generally take care of itself (see below).


5.  Take care with forward bends.

Repeated lumbar flexion (bending forwards) can cause excess pressure on the lower back, in particular the inter-vertebral disc.  Discs are the cartilage-like structures that cushion between the vertebrae. 

The way we move and the positions we regularly adopt are reflected by changes in pressure in the discs (see picture below for more info). 

The lowest pressure occurs when we're lying flat and the highest when we're standing and sitting with a forward flexed spine. 

Disc injuries are common but don't always cause symptoms (70% of people have disc degeneration on MRI but only a few have symptoms).  Discs are generally very resilient and withstand most day-to-day positions.

However, over the years, micro-traumas and chronic muscle imbalances can lead to excess pressure on the discs.

Evelyn Krull states, "In my experience, the vast majority of people who come to yoga have experienced or are experiencing forms of lower back pain.  In most cases, the pain is not directly associated with trauma but due to:

  • lifestyle imbalances, primarily sitting for long periods of time while flexing the spine and

  • having the knees elevated above the hips (shortened psoas) as it is common in car seats

Going to yoga class and repeating forward bends is likely to further compress the discs and lead to pain.


These poses in particular can cause potentially high pressure in the lower back:

  • Uttanasana (Standing forward bend)

  • Urvha Mukha Uttanasana (Halfway lift)

  • Janusurasana (Head to Knee Pose)

According to Duncan Peak, author of Modern Yoga, to protect the lower back it's important to:

  • bend the knees as much as necessary so you are hinging from the hips

  • during sitting forward bends, keep your knees bent to avoid over stretching the hamstrings and lower back

  • sit on a block to raise the hips

  • don't aggressively stretch the hamstrings that can further sensitise the disc

Image courtesy of sequencewiz.org

Image courtesy of sequencewiz.org

Unfortunately, once you have a disc injury it is a chronic condition

The focus becomes maintaining and preventing flare-ups. 

You will need to pay extra attention to your body and it's response from certain positions. 

Sometimes it's not until the day after that you will feel symptoms so it's a great idea to keep a movement journal so you can track and monitor your progress.

If you have a disc problem, try and maintain a neutral spine during your yoga practice.

Image courtesy of up4yoga.com

Image courtesy of up4yoga.com

Some other tips for avoiding lower back pain:

  • take care when sitting for prolonged periods on the ground.  Often this can place pressure on the hips and lower back

  • it's not a good idea to bend forwards aggressively first thing in the morning when the discs are swollen and vulnerable to compression.  Leave them until later in the day

  • avoid sitting cross legged for long periods especially if you have tight hips.  Sit on a chair or lie on your back instead


If you have a flexion related disc problem, sphinx pose (see picture) can be a very useful pose to decompress the spine.  It can be nice to rest here for 5-10 minutes with a heat pack across your lower back to stimulate the blood flow. 

Upward dog often seems to jam up the facet joints and is best avoided in the short term if you have lower back pain.  


Now it's your turn. 

What has been your experience in dealing with lower back pain during Yoga?

Please share your tips and constructive advice...


Get To Know Your Muscles - TFL (Tensor Fasciae Latae)

Author: Daniel O'Grady is a Physiotherapist in Adelaide, Australia.

Most people know about their ITB (Ilio Tibial Band)  that runs on the outside of the thigh; but not as many are familiar with the strip of muscle that joins the upper part of the ITB to the pelvis. 

This small muscle is known as the TFL (Tensor Fasica Latae). 

If you’ve ever had problems with your knee, hip, lower back, calf or achilles, chances are you have some unresolved tightness in your TFL.


QUICK ANATOMY REVIEW:

As you can see in the picture, the ITB has upper attachments to both the gluteals and the TFL.  Any dysfucntion/weakness in the glutes means that the TFL needs to work proportionally harder.  Gluteal inhibition is common - especially if you spend a lot of time sitting.


PALPATE THE TFL ON YOURSELF:

To feel the TFL, place your finger on your front of your pelvic bone.  Slowly move down and to the outside of the thigh until you feel a ropey muscle that is the the width a finger.  It may be tender to touch.


FUNCTION:

The TFL is a hip flexor, abductor and internal rotator.  It works in conjunction with the gluteus medius and gluteus maximus to stabilise the leg during the stance phase of walking and running.  The TFL anteriorly rotates your pelvis.  Functionally, the TFL is part of the Lateral Line and the Spiral line, according to Thomas Myers in his book Anatomy Trains.

The Lateral Line

The Lateral Line

The Spiral Line

The Spiral Line


SYMPTOMS:

Overload of the TFL can lead to pain and tightness in the front of the hip.  Very common is also pain and tightness in the outer part of the knee and into the ITB.  This is most noticeable when walking or up and down stairs/hills. 

Other symptoms:

  • knee and hip pain (especially outside)

  • the lower back and SIJ

  • upper back

  • calf and achilles

As the TFL pulls the head of the femur bone forwards, chronic increased tone is one of the prime causes of hip osteoarthritis and degeneration. 

HOW THE TFL BECOMES OVERLOADED:

The TFL becomes overloaded with repeated use in the following situations:

  • excessive sitting, driving, kicking

  • walking and running (especially uphill and downhill)

  • cycling, swimming, kayak/canoe

  • meditating crossed legged in lotus position

  • sleeping in the fetal position

  • standing with a swayed back and wearing high heels too often

TREATMENT:

Physiotherapy assessment will involve a comprehensive movement assessment to determine the cause of your TFL issue.

Short term treatment such as soft tissue massage and dry needling is very helpful, while long term building gluteal and core strength is critical to prevent a relapse.


TRIGGER POINT DRY NEEDLING:

Tightness and shortening of the TFL responds well to dry needling, which can de-activate the trigger points (knots in the muscle) that can form in chronic cases.  The benefit of dry needling is that it can reach the deep fibers of the muscle and lead to a quicker resolution of symptoms.  Dry needling is certainly an unusual feeling, but definitely beats 15 minutes of deep painful massage in that area.


SELF-CARE TIPS:

  • apply heat to the front of your hip 10 minutes each day

  • avoid sitting cross legged

  • avoid walking and jogging uphills and on sloped surfaces in the short-term

  • ensure your shoes are not overly worn

  • sleep on stomach or side with pillow between knees

  • when running - avoid over-striding and endure proper warm up and cool down

  • use cruise control on long car trips to stretch the legs


GRADED EXERCISE PROGRAM TO ADDRESS TFL OVERLOAD:

PART 1 STRETCHES:

FOAM ROLLER ITBRegulate the pressure with your arms and top leg, so pain is less than 5/10.

FOAM ROLLER ITB

Regulate the pressure with your arms and top leg, so pain is less than 5/10.

FOAM ROLLER QUADSGo harder along the quads. Keep breathing!

FOAM ROLLER QUADS

Go harder along the quads. Keep breathing!

HIP FLEXOR STRETCHFeel the stretch in the front of your hip as you tuck the pelvis under gently

HIP FLEXOR STRETCH

Feel the stretch in the front of your hip as you tuck the pelvis under gently

FOAM ROLLER TFLAngle your body across the TFL and roll it with medium to light pressure

FOAM ROLLER TFL

Angle your body across the TFL and roll it with medium to light pressure

PRONE EXTENSION COBRA DECOMPRESSIONRelax on your forearms, let your hips release at the front. Breathe through the diaphragm

PRONE EXTENSION COBRA DECOMPRESSION

Relax on your forearms, let your hips release at the front. Breathe through the diaphragm

PART 2 STRENGTHENING:

The goal is to strengthen and support the muscles around the TFL

BRIDGEFeel a stretch in the front of your hips while your glutes activate in the back of the hips

BRIDGE

Feel a stretch in the front of your hips while your glutes activate in the back of the hips

CLAM SHELLEnsure hips stay facing the front and you feel the gluteus medius (back of the hip) activating

CLAM SHELL

Ensure hips stay facing the front and you feel the gluteus medius (back of the hip) activating

SINGLE-LEG BRIDGEKeep the bridge high as your transfer your weight to each side. Keep activation through the glutes

SINGLE-LEG BRIDGE

Keep the bridge high as your transfer your weight to each side. Keep activation through the glutes

PUSH-UP TO SIDE-PLANKActivate the obliques as you twist into side plank. Try x3 on each side.

PUSH-UP TO SIDE-PLANK

Activate the obliques as you twist into side plank. Try x3 on each side.

PLANKFeel the abdominals support your body. Hold 30 seconds. Keep breathing!

PLANK

Feel the abdominals support your body. Hold 30 seconds. Keep breathing!


PART 3: POSTURE / NEW MOVEMENT PATTERNS

For many people, the TFL becomes the muscle that is always switched on and over-active.

Try these movements, focusing on keeping your core and gluteals engaged.
STANDING PELVIC-TILTSUse the abdominals to gently tuck the pelvic under. Keep the shoulders relaxed and breathe through the diaphragm. x10 per hour.

STANDING PELVIC-TILTS

Use the abdominals to gently tuck the pelvic under. Keep the shoulders relaxed and breathe through the diaphragm. x10 per hour.

STANDING HAMSTRING CURLSKeep the pelvis tucked under and abdominals engaged as you bend the knee by activating the hamstring. Keep the knees aligned during the entire exercise. 3 x10 each side.

STANDING HAMSTRING CURLS

Keep the pelvis tucked under and abdominals engaged as you bend the knee by activating the hamstring. Keep the knees aligned during the entire exercise. 3 x10 each side.

REVERSE LUNGEFeel the stretch in the front of your left hip as you stretch back and drop the knee towards the ground. Keep your spine straight while gently tucking your pelvic under. x10 each side.

REVERSE LUNGE

Feel the stretch in the front of your left hip as you stretch back and drop the knee towards the ground. Keep your spine straight while gently tucking your pelvic under. x10 each side.

SIT TO STAND SQUATSFocus on activating the glutes and core as you come up into standing by gently pulling your pelvis under.

SIT TO STAND SQUATS

Focus on activating the glutes and core as you come up into standing by gently pulling your pelvis under.

Stick your butt out as you slowly sit down, keeping your feet and toes in contact with the ground. Repeat 3x10

Stick your butt out as you slowly sit down, keeping your feet and toes in contact with the ground. Repeat 3x10

Enjoyed this blog post?

Donate