Building A Resilient Knee For Running
Important Note: This blog post is very general in nature. Some or all of the advice may not be appropriate for you. Please check with your Physiotherapist for specific advice on your condition.
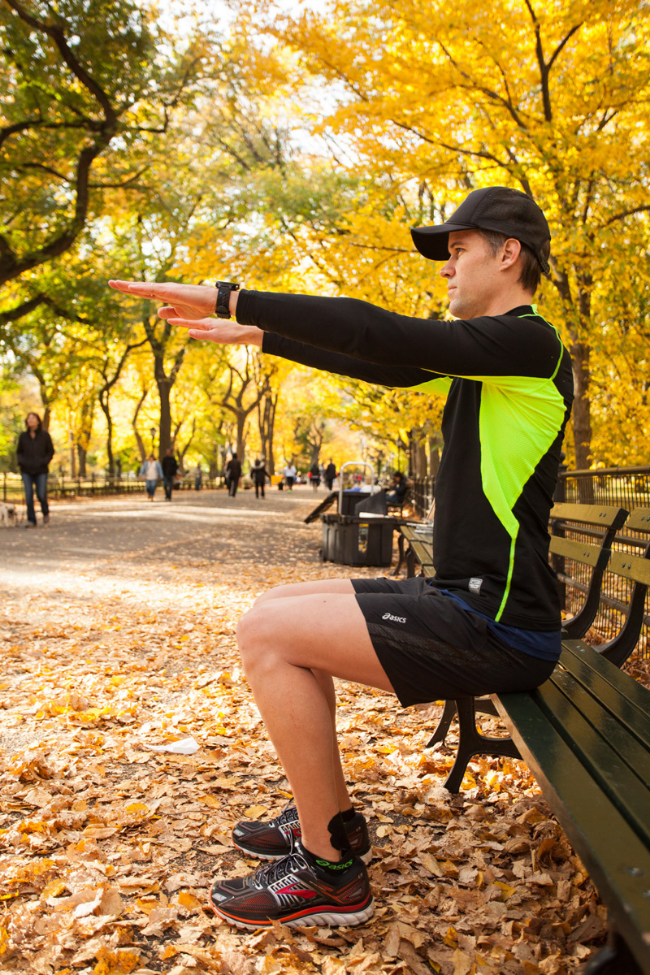
If you’re fairly new to running - and tell your friends and family you’re planning or running a marathon or half-marathon, very often you get this well intentioned question:

While we can easily shake off the comment at the time, it’s often not until a few months down the track, when your training volume starts to increase, you may in fact start getting some twinges in the knee, that the comment can come back to haunt you.
An element of doubt can sit in the back of your mind, making you question:
“Is running actually harming my knees”?
“Were they right after all”?
So what does the research say?
There’s a common view in the community that running isn’t good for your knees, and may cause early wear and tear and possibly lead to arthritis.
So what does the research actually show?
A very high quality study recently came out that followed over 100,000 people to see how their lifestyle and exercise habits related to their risk of developing knee arthritis.
The study showed that recreational runners had a risk of developing knee arthritis that was around 3.5%, compared with non-runners whose risk was 10.2%.

Knee arthritis risk: Runners vs Non-Runners
In other words the non-runners had a three times greater chance of developing knee arthritis that runners.
Amazing.
Rather then their joints ‘wearing out’, runners had increased muscle bulk around the knee, providing a protective effect on the joint.
This study allows you to be confident that recreational running will not harm, and may actually improve, your hip or knee joint health.
Biggest Risk Factor
So if running doesn’t cause arthritis in the knee, then what is the biggest risk factor?
If we look at the research again - the biggest risk factor for knee arthritis was being over weight.
So in terms of knee arthritis, the risk of being inactive and becoming overweight is much greater than being active and running regularly.
Knee pain and running
So… we know running doesn’t cause arthritis - (it actually might prevent it).
However, the knee is still a very common area of pain and injury for runners (in fact 50% of all running injuries are in the knee).

Photo Credit: Rich Wily Running Symposium La Trobe 2018
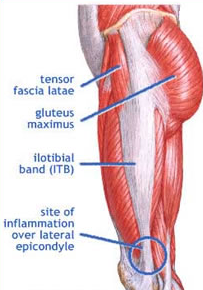
Patello-femoral Syndrome
The most common running related injury is what we call Patello-femoral Syndrome (also known as Runner’s Knee).
Patellofemoral pain (PFP) is a condition where pain is felt on the front of the knee, either around or behind the patella.
It is caused by an increased load and force going through the knee-cap that, resulting in inflammation and swelling around the knee.


The main symptom of Patello-Femoral Syndrome is pain with loading and a general vague ache in the front of the knee.
The pain generally gets worse with:
running especially downhill
climbing stairs
kneeling and deep squatting
sitting with knee bent up for prolonged periods e.g. sitting on a plane or movie theatre
Key Point:
A key point here is that knee pain from running is most likely related to inflammation around the knee cap rather than any structural joint damage.
The confusing thing is that the aching pain from patello-femoral syndrome can mimic the pain you may feel in the early stages of knee arthritis.
No doubt this can be a little disconcerting.
But you definitely don’t need to freak out about developing knee arthritis.
2 choices:
When you develop knee pain as a runner - you have 2 options:
Keep running and push through the pain barrier.
Sometimes this can help and the pain goes away. But sometimes the pain doesn’t get better and things just get worse. Runners traditionally have very good pain thresholds - but the jury is still out if this is a good thing or not!
Stop running altogether.
As runners, we know when you stop running, you tend to lose your fitness really quickly. Your capacity decreases rapidly and your muscles become de-conditioned and so just resting doesn’t really solve anything. When you get back to running, the pain and inflammation is just as bad as before.
Thankfully there is a 3rd option - and the rest of this post will be talking about five very practical strategies you can use to help reduce your knee pain and get back to running.
5 Strategies to help with knee pain and get you back to running
Before we start, we need to get on the same page.
Unfortunately there are no quick fixes.
There are multiple factors (20-30!) that may all play a role in why you’ve developed knee pain.
Without doubt, the best results come with a personalised assessment with a Physio who has a special interest in running.
This will help identify the main issues and get you on the fast track to healing.
On average, it takes 8 - 12 weeks to reduce knee pain and get back to running properly again.
Getting healthy again will test your patience, and it is very often a case of 2 steps forward 1 step back.
1. Reduce Inflammation

If we go back to the original cause of the patello-femoral pain in the knee - it is inflammation that develops under the knee cap.
If you have knee pain, it means you have inflammation.
So the first and most important step is to reduce the inflammation in the knee.
The best way to do this is to use a good quality ice pack on your knee for 15 mins x 2 day (every day for 2 weeks).

The ice packs we sell in the clinic are the Sideline Ice and Wrap ($39)…they are a great option.
Using the velcro strap means you can get a solid compressive effect and still keep moving about, without having to stay seated the whole time.
Often the knee starts to feel better quite quickly when you decrease the inflammation, but it’s important to keep icing for 2 weeks so you completely break the inflammatory cycle.
If you start to feel better and then return to exercise too quickly, you will start the inflammatory process over again.
Another good option when you have knee pain is getting into a pool or standing in the cold water down at the beach. The buoyancy of the water can have a positive impact on decompressing the knee.
We don’t tend to use anti-inflammatory medication, unless the pain and inflammation is severe.
2. Reduce Load
Generally, activities with more knee bending increases stress to the Patella-femoral joint.
So to reduce irritating your knee further, you will need to:
reduce heavy weights especially lunges and squats
avoid stairs
avoid kneeling
avoid sitting with your knee bent up for prolonged periods
Sometimes you also need to avoid a quad stretch as this can also irritate the knee joint
Reducing Load When Running
If at all possible, we like to keep you running in the short-term, with a few alterations.
Some common modifications include:
avoid downhill running and keeping to flat ground as much as possible
reduce speed and include some more walking breaks (especially when you feel knee pain)
do shorter, more frequent runs rather than longer runs
If running is still too sore you may need to take a complete break for 1-2 weeks.
In this time, you can generally keep walking and getting in the pool can be helpful too.
Some people like to get on the bike, which can be a good option to maintain your cardio-vascular fitness. However you need to be wary of developing muscles imbalances that cycling can often accelerate - most commonly increased hip flexor tightness and under-active gluteals.
3. Increase Tissue Capacity
If we look at which muscles are loaded when we run, the soleus muscle in your calf (takes up to x 8 body weight) and the quads (up to x 6 body weight).

Photo Credit: Rich Wily Running Symposium La Trobe 2018
They already work a lot so it probably doesn’t make a lot of sense to increase the strength of them, especially if you are running a lot and doing hills regularly.
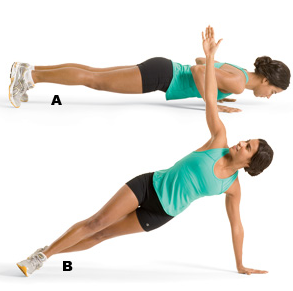
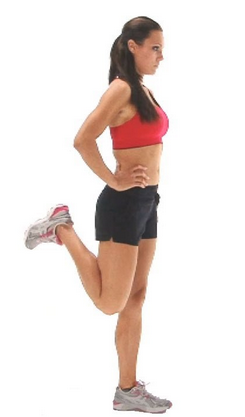
But the accessory muscles such as the hamstrings, gastrocnemius, and the glutes have all got potential to improve their capacity and help off-load the knee.
Some common exercises you could include would be calf raises, bridges, clams, crab walks and hamstring curls on the ball.
Getting a Physio to develop a personalised program for you will provide many benefits in the long term and keep your knees from getting overloaded and inflamed.


4. Create Neuro-muscular balance
Many people think of the knee as a simple hinge joint.
While the joint does act like a hinge, there are around 20+ muscles that attach and need to be balanced around the knee.
If you are a musician - anyone who plays the guitar - you know that every time you play, you spend a couple of minutes ‘tuning’ up, before you play.
If your strings aren’t fine tuned properly then obviously your going to sound terrible!
The muscles are like the strings of the guitar, and tend to get overloaded and tight with running, leading to increased loads on the knee-cap.

Keeping your muscles in tune could include things like:
foam rolling
stretching
deep tissue massage
If your muscles are having a bit of trouble releasing, then the next step would be to try dry needling.
Trigger point dry needling has the ability to reach deeper into the muscle, getting a more effective release.
You can find out more about dry needling here.
5. Modify Running Gait
There is some solid evidence showing that making some small modifications to your running gait can take pressure off your knee.
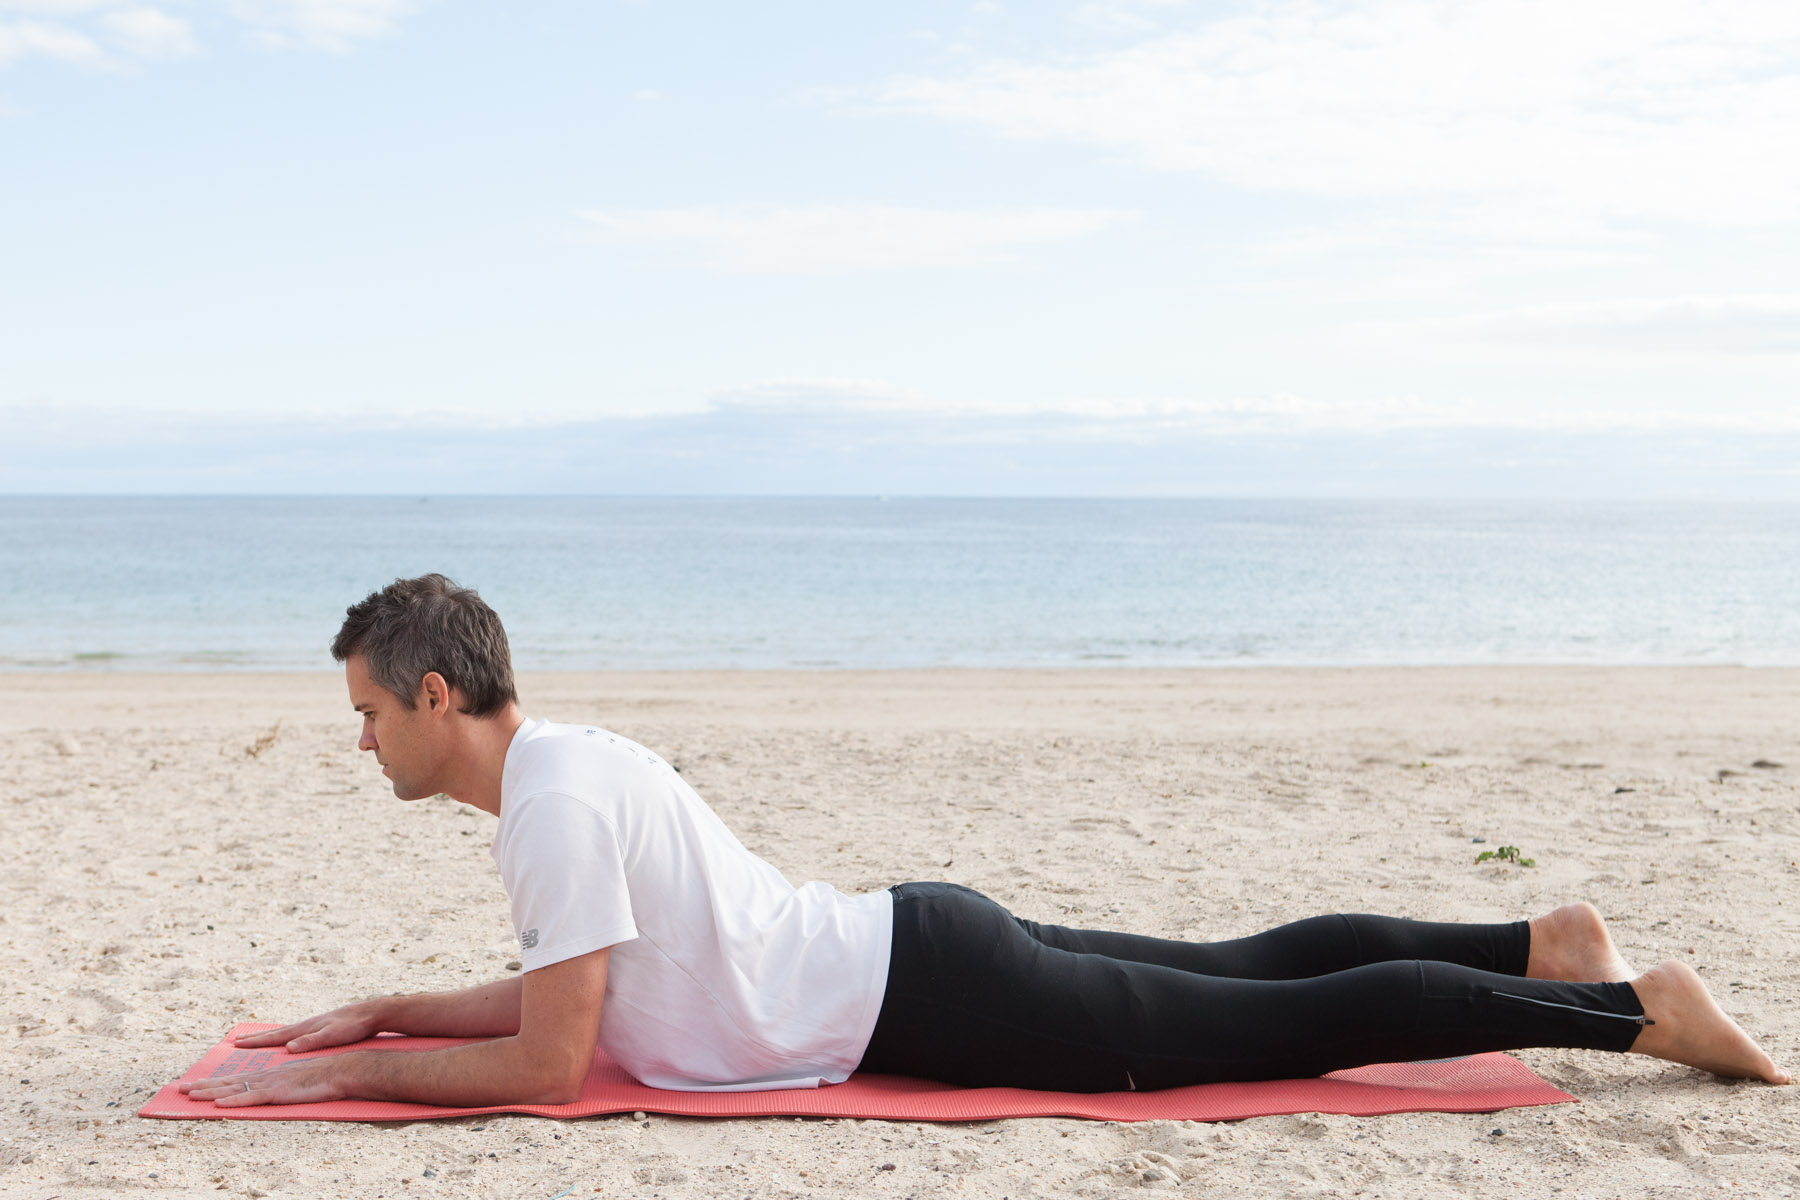
Returning to running after a knee injury can be a little scary.
We find sometimes people can be a bit over-cautious and defensive and this leads to a very upright posture, almost running within yourself.
Counter-intuitively, this upright posture tends to increase the force on the knee…so switching to a forwards lean is a simple solution.
Some studies have shown that incorporating a forwards lean can improve your running efficiency by up to 30%, as you tap into the power of gravity.
It’s important to lean forwards from your ankle, rather than bending from your waist, that could lead to pressure on your lower back.


Over-striding
A common thing with knee pain in running is over-striding.
This can lead to increase peak forces going through the knee.

The solution is to modify your cadence (how many steps you take per minute).
Generally, increasing your cadence 5-10% can significantly decrease the peak load of force going through your leg.
For example, if you’re at 165 steps per minute - increasing to 175 - 180 may do the trick.
Many GPS watches track your cadence in real-time, or you could use a metronome app on your phone to help keep your rhythm.
Side note: Running with a faster cadence doesn’t mean you have to run at a faster speed. There is an art to learning to shorten your stride, but still run at a comfortable pace - it can take some practice.
Return to Running
Just a few final tips about returning to running from a knee injury:
for the first 3-4 weeks, choose a flat surface to run on and gradually layer in the hills as your pain allows
before you run - do a quick tune-up - foam rolling, gluteal engagement exercises
try taping the knee. About 50% of the time, using a rigid tape can make a huge difference in stabilising the knee cap. The other half of the time it doesn’t make much difference, so it is worth trying out - and your Physio can show you how
shoes - a new pair never goes astray after an injury and will help take the full shock absorption with less pressure on the knee
Pain as you return to running
As you return to running, your knee may still be twingy.
The following scale is useful to keep in mind and rates your pain level from 0 (no pain) and 10 (worst pain you could imagine).

Of course, ideally the pain would be 0, and that’s great if that’s the case.
In reality, you may still have some twinges and soreness as you’re getting back into it.
This is really common and is often more related to the knee getting used to the loads again, rather than more damage.
We rate a 0-5 pain score as an acceptable level.
You can still run, but just be mindful, if your pain increases to a 6 or greater, then you need to stop and walk / rest.
Take note of your pain levels at the time of exercise, and also the 24 hour response.
Pain that lasts until the next day means you’ve probably done too much, so next time reduce the amount so your body can handle it and gradually build up from there.
What about if you already injured your knee - is running still OK?
That is a great question, and it is very hard to say without a personalised assessment.
If you have previously torn a ligament or meniscus in your knee - some doctors would suggest you avoid running forever.
However, if we go back our research showing the biggest risk factor of knee arthritis is being over-weight, there is a case to be said for gradually re-introducing running (if it’s something you enjoy), as a means of maintaining effective weight control and creating a supportive muscular foundation for the joint.
Following the five strategies outlined above would most likely be a great help, but again please consult with a Physio to get a tailored plan set up for you.
Avoiding surgery
Some recent research has demonstrated that 65 per cent of people with knee arthritis and meniscus tears can avoid surgery by following a physiotherapy program (Katz et al. 2013).
The protocol involved an individualized physiotherapy treatment plan with a progressive home exercise program.
The three-stage structured program was designed to:
decrease inflammation
improve range of motion
optimise muscle strength
improve aerobic conditioning (e.g., with the use of a bicycle, elliptical machine, or treadmill)
proprioception and balance re-training
Conclusion
Running is safe - it definitely doesn’t cause arthritis and may even protect your knees.
Knee pain is common however and the most common cause is knee cap pain.
Listen to your body - respect it - get in touch with Physio who can guide you back to running safely.
Rather than pushing through the pain or stopping alltogether, try the 5 Strategies:
decrease inflammation using an ice pack
temporarily decrease load
increase tissue capacity with some simple strengthening exercises
create muscle balance
modify your running gait
If you have any other questions about knee pain and running, I’d love to help you out.
You can send me email to dan@kinfolkwellness.com.au
If you’d like to get started on your journey back to running pain-free again, simply click on the link below to schedule an appointment.
Dan O'Grady is an experienced Running Physio in Adelaide who has worked with runners from around the world including ultra-marathoners and weekend warriors.
Dan worked with Robert De Castella's Indigenous Marathon Project at the 2013 New York City Marathon.
A keen runner himself, Dan ran the New York City marathon in 2015 & 2017 and is currently preparing to break his 5k PB before he turns 40!
For running advice & inspiration, follow our Instagram