When to Use Ice and Heat

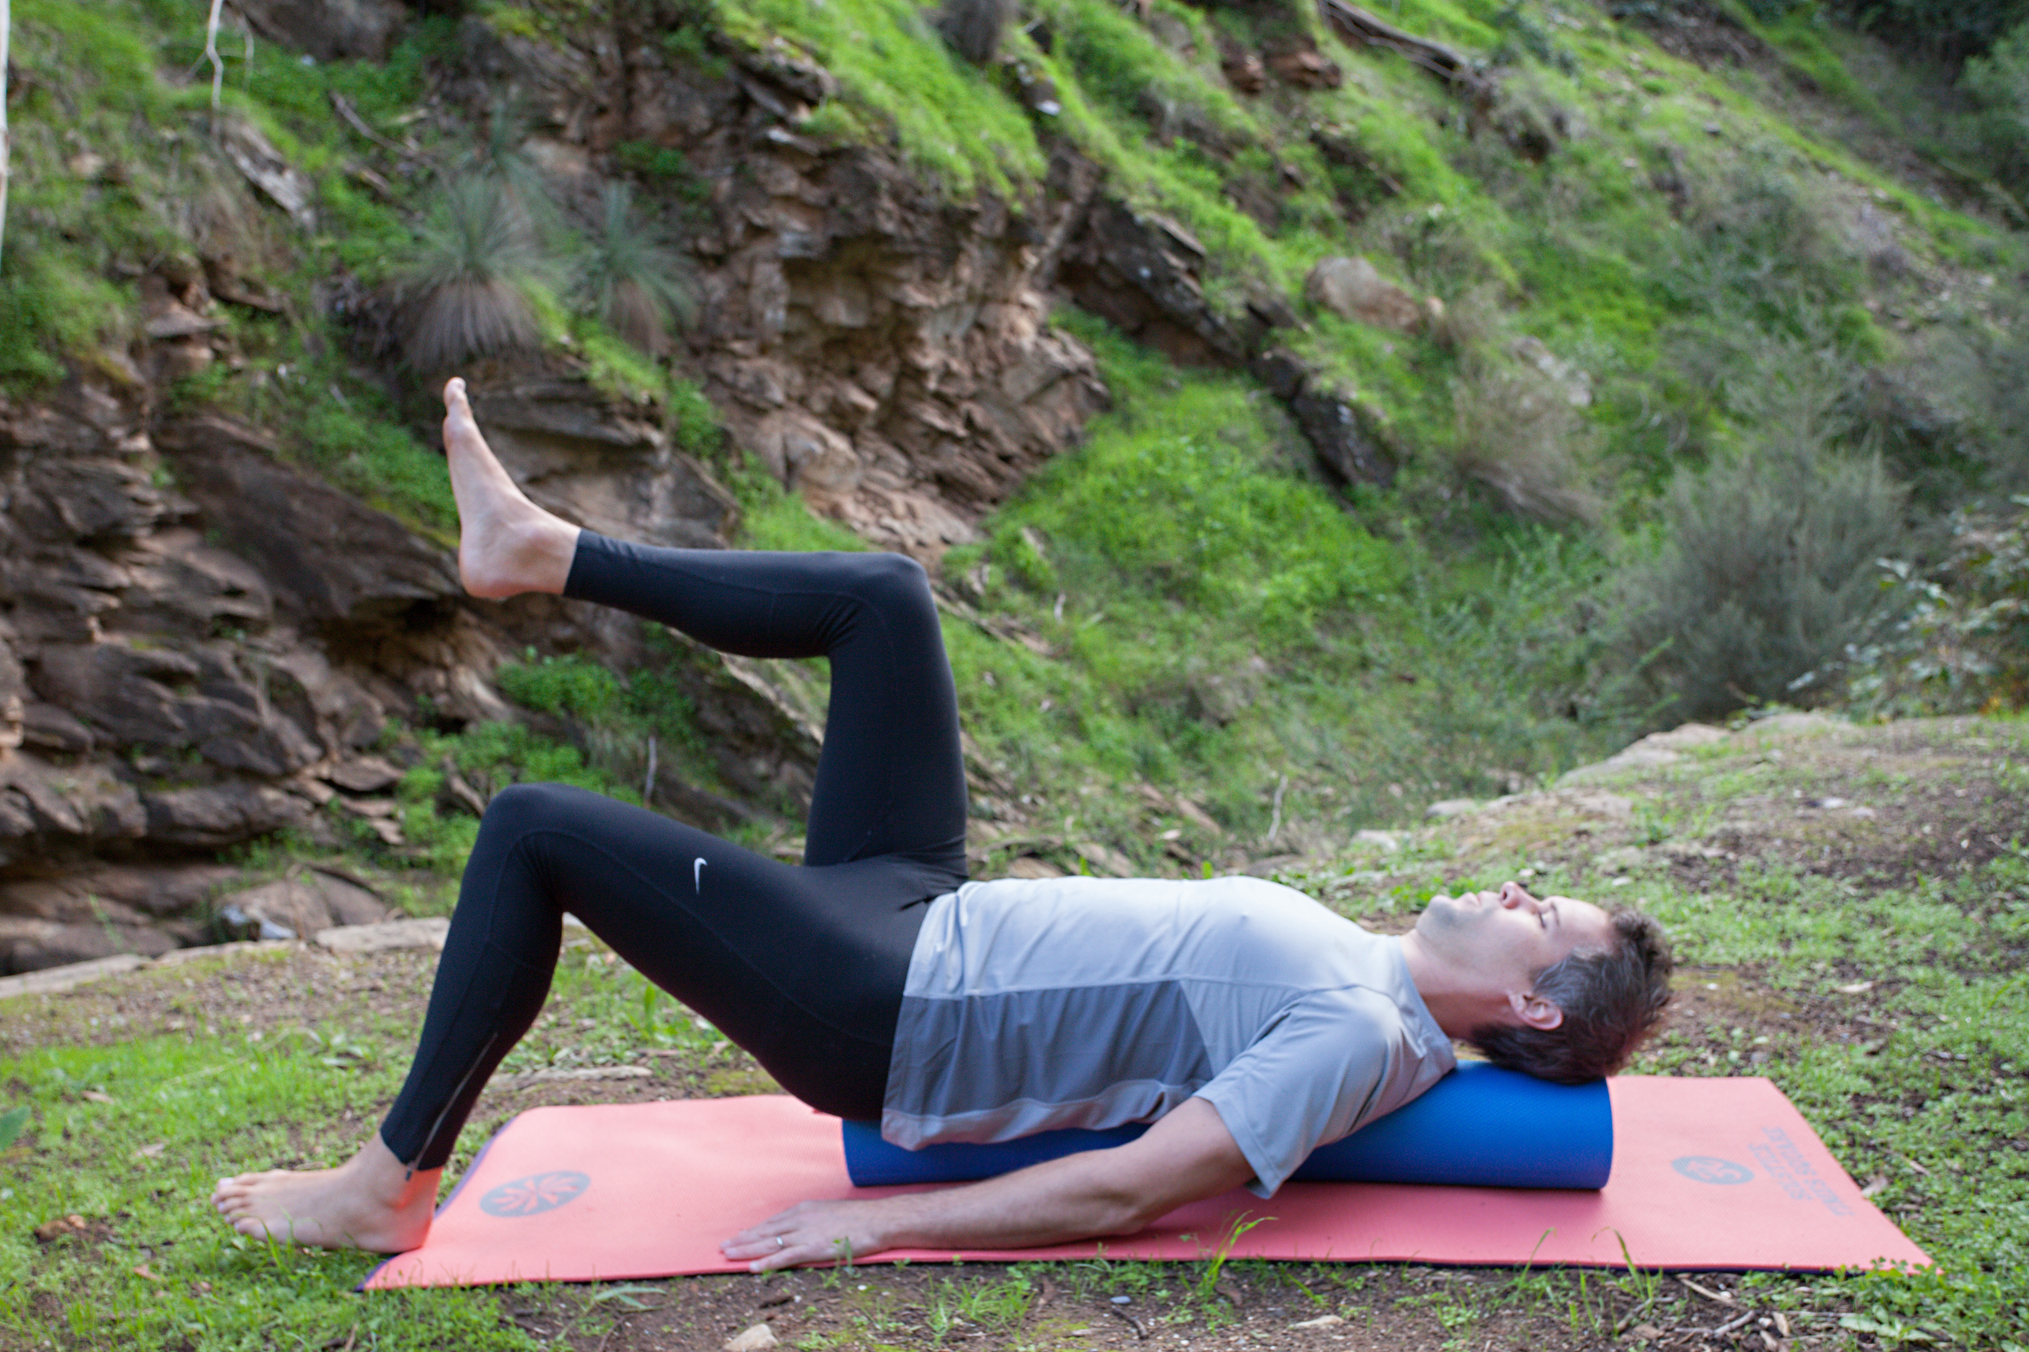
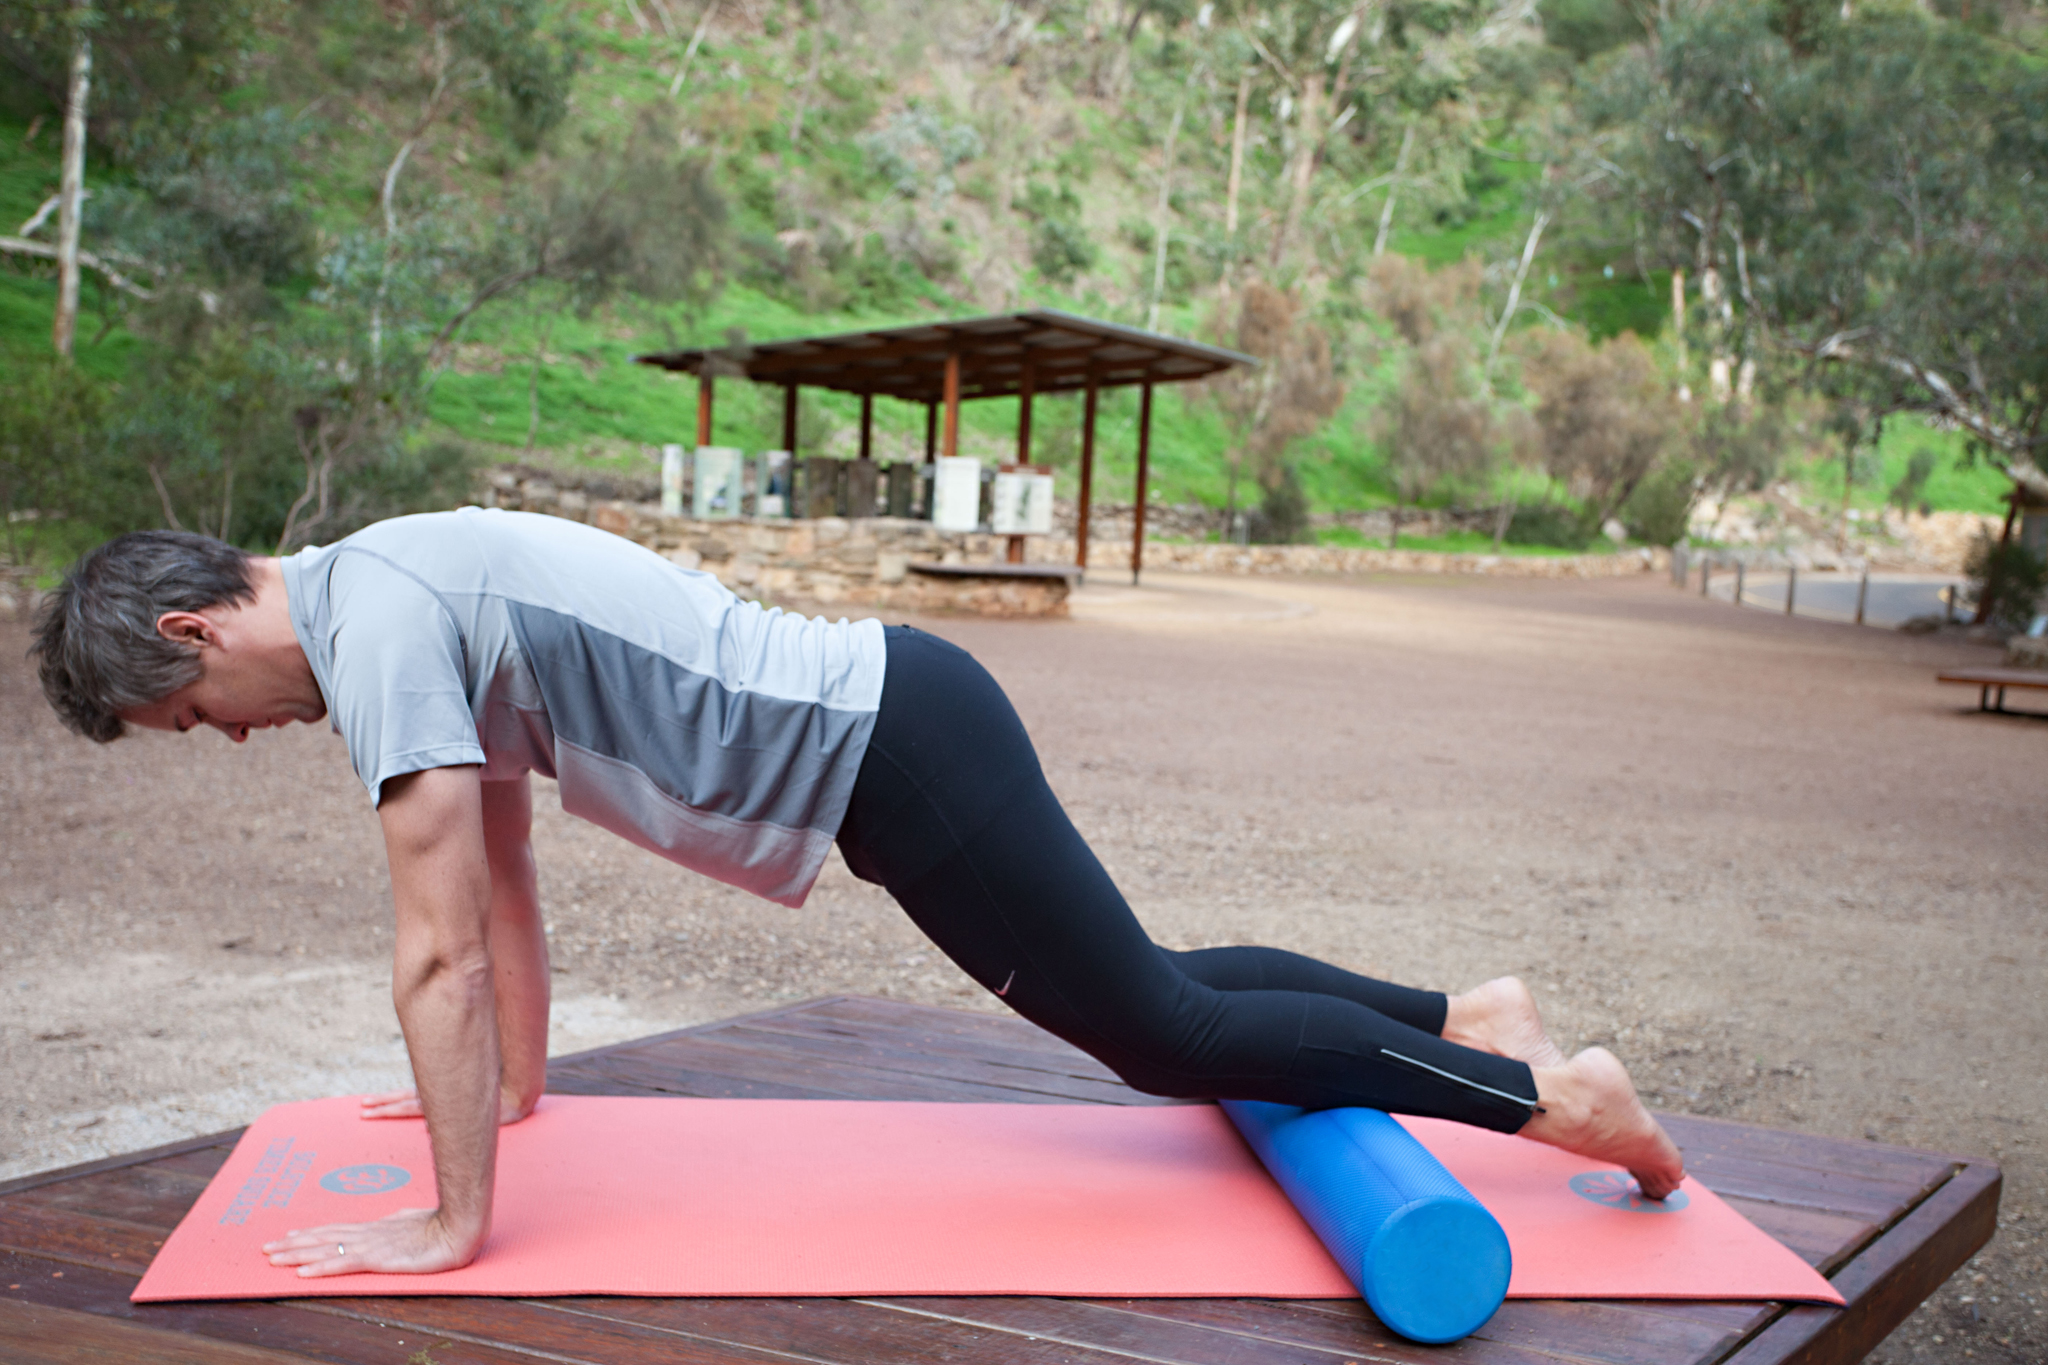
Every day I get asked by patients about when to ice and when to use heat on their body. 

Today I wanted to help clarify this to help you recover quicker from your injuries and get back to doing what you love.

When To Ice When inflammation and pain dominate, use ice.  

For any new injury, such as a sprain or strain, it is recommended you ice for the first 48 hours. 

This will help minimise inflammation. 

How do you know inflammation is present? 

- you will feel a constant dull ache

- pain may wake you in the night and early hours of the morning

- there will be redness and swelling

- anti-inflammatory medication is helpful

A certain amount of inflammation is useful, as this activates the body's healing mechanism. 

However, a simple injury can turn chronic if inflammation and swelling overwhelm the body.
This is more common in lower limb injuries to the ankle and knee, as the effects of gravity make it difficult for the body to eliminate all of the swelling.

In Summary, When to ice:

- in the first 48 hours after an injury such as a strain/sprain

- after exercise apply ice to any 'hot spots' that feel sore e.g. knee or ankle

- after an ankle or knee sprain, until the swelling has gone down 100% (this may take several weeks or months)

- daily for patello-femoral knee pain when there is low level constant ache

- for arthritis in joints when swelling and inflammation are present

- 10-15 minutes is ideal (any longer and the body will start to increase blood flow to the area). 

- Apply ice with compression such as a velcro strap. 


When To Heat:  When muscle tightness and stiffness dominate, use heat. 

Heat increases blood flow to the area, helping to flush out the area, bringing oxygen to the tissues and improves flexibility. 

Generally, after the first 48 hours of an injury you are OK to start using heat on an injured area, along with massage and gentle stretching.  If pain is still quite severe after 48 hours, that is sign of a serious injury that should be checked by your physiotherapist and doctor. 

In Summary, When to Heat:

- after the first 48 hours of an injury

- when a muscle feels tight and stiff

- before exercise to increase blood flow to the muscles

- for arthritis in the joints when stiffness predominates

- Use a wheat bag, which retains heat for 10-15 minutes. 


When To Alternate Between Ice And Heat: 

After the first 48 hours, your injury may be feeling improved.  To help increase blood flow you can alternate between ice and heat.  From 48-72 hours after the injury you can finish with ice, and after 72 hours as the pain subsides you can focus more on heat. 

What about post exercise: ice or heat?

Danny dreyer

vs tim ferriss

Forget the postworkout ice bath – study suggests hot water, instead


Final Answer: If you are still unsure, please Consult Your Physiotherapist!

The information presented is a general guide.  Unfortunately there is no black or white answer to which is "better".  It all depends on the context and time frame of your injury.  Everyone is unique and I would encourage you to call up your local Physio, book an appointment and find us the best treatment for you, as an individual.

Please contact us with your enquires 1300 657 813 or dan@kinfolkwellness.com.au

Research Links - please click to see the research paper

Thermotherapy for treatment of osteoarthritis

5 Ways You Could Be Using Your Foam Roller All Wrong

Using a foam roller can be a valuable way to improve your flexibility, athletic recovery and relaxation. (Want to know how to use a foam roller? Start here.) Take care to avoid these common mistakes:

1. Holding your breath

Holding your breath activates the sympathetic nervous system. This sends a message to your brain that there is a perceived threat in your body. Your body reacts by increasing heart rate and blood pressure as well as causing muscles to tighten and constrict — the exact opposite of what we want to happen.

While rolling, keep breathing regularly (breathe in for five seconds and out for five seconds approximately). By focusing on your exhalation, you activate the parasympathetic nervous that activates the body’s healing mechanism.

2. Rolling the IT band too intensely

The iliotibial band (ITB) is a fibrous tendon that runs up the outside of your thigh. Often it becomes inflamed after too much walking, running or hiking downhill. It contains many sensitive nerve structures and does not respond well to heavy, prolonged rolling.

The ITB reacts better to a few quick rolls, with body weight partially supported by your arms and other leg. The fleshy, muscular part of the ITB called the tensor fasciae latae (TFL, which runs up to the front of the hip) can often give you better results, along with rolling the quads, hamstrings and calf muscles.

3. Rolling your lower back

The body contains many joints, each of which has a specific job to do. The lower back is generally designed to be a strong stable core, from which other body movements can take place. There is no need to roll the lower back, as true stiffness is rarely the problem. More commonly the hips and upper back are tight, which then leads to compression through the lumbar spine.

4. Using bad posture

Foam rolling involves lots of different positions. Good body awareness and core stability are important to ensure you don’t injure yourself. In general, try and maintain a neutral spinal zone.

5. Rolling too quickly over major muscle groups

Slow, focused rolling is better for big muscles like the quads, hamstring and calves. Pay attention to your body and if you come across any particularly tight areas you can hold the pressure there for up to 30 seconds, as the muscle slowly releases. If the muscle doesn’t release or you feel any unusual symptoms like pins and needles, it may mean you are compressing a nerve. Please consult with your physiotherapist for further advice.

Click HERE for more information about our next Introductory Foam Roller Workshop

5 Foam Roller Exercises To Strengthen Your Core

You may think of your foam roller as just a tool to help soothe your achey muscles, but it's actually a great piece of equipment to add to your core workouts as well. Adding an unstable surface, such as a foam roller increases the demand on the core stabilizers. These muscles help to support your posture and protect your spine. These exercises will put you on the fast track to building a solid foundation.

Be sure to check with your health care professional before you try these, especially if you've had an injury.

1. Dying Bug

Lie on the foam roller with your head and hips supported. Maintain neutral spine (slightly arch your lower back) and slowly bring the right hand to the left knee. Slowly extend the arm and leg away from the body. Repeat 10 times on each side.

2. Heel Taps

Maintain a neutral spine (slightly arch your lower back) while slowing dropping one heel down to touch the ground. Keep the same angle in the knee throughout the entire movement. Place your hands on your chest for more of a challenge. Repeat 10 times on each leg.

3. Bridge

Keep arms by your side and push down through the heels, lifting the hips up into a full-bridge position. Keep your knee, hip and shoulder aligned, but don’t overextend your spine. Hold for three breaths, feeling a contraction through the gluteals (back of the hips). Repeat 5 times. If you feel your hamstrings over-activating, bring the roller closer to your hips.

4. Plank

Rest your forearms on the roller and lift into a plank. Relax your neck and shoulders. Hold for three deep breaths. For more intensity, gently move roller up and down with your arms, without moving your spine

5. Knee Stretch

Keep your spine in neutral while you move the roller up and down, hinging at your hips. Use your abdominals to control the roller.