foam roller

How Foam Rolling Can Help With Headaches

Many headache sufferers we see in the physio clinic have a very stiff Thoracic spines.

This is the part of the back that runs from your upper shoulder blades down to the upper waist line. 

**The thoracic spine is designed to move and be mobile**

spinal-canal-spinal-cord.jpeg

Unfortunately for many of us - through excessive sitting, driving and generally poor posture, this part of the spine has lost its flexibility. 

In particular the upper back starts to round over time.

index.jpg

This stiffness then leads to compensations - commonly tightness felt in the neck, shoulders leading to chronic headaches. 

These foam roller exercises are designed to improve your posture, increase mobility through the thoracic spine and decrease the pressure on the head and neck.

If you are a headache sufferer, please give these exercises a try and let me know in the comments how you get on.

FOAM ROLLER EXERCISES FOR.png

5 Ways You Could Be Using Your Foam Roller All Wrong

Using a foam roller can be a valuable way to improve your flexibility, athletic recovery and relaxation. (Want to know how to use a foam roller? Start here.) Take care to avoid these common mistakes:

1. Holding your breath

Holding your breath activates the sympathetic nervous system. This sends a message to your brain that there is a perceived threat in your body. Your body reacts by increasing heart rate and blood pressure as well as causing muscles to tighten and constrict — the exact opposite of what we want to happen.

While rolling, keep breathing regularly (breathe in for five seconds and out for five seconds approximately). By focusing on your exhalation, you activate the parasympathetic nervous that activates the body’s healing mechanism.

2. Rolling the IT band too intensely

The iliotibial band (ITB) is a fibrous tendon that runs up the outside of your thigh. Often it becomes inflamed after too much walking, running or hiking downhill. It contains many sensitive nerve structures and does not respond well to heavy, prolonged rolling.

The ITB reacts better to a few quick rolls, with body weight partially supported by your arms and other leg. The fleshy, muscular part of the ITB called the tensor fasciae latae (TFL, which runs up to the front of the hip) can often give you better results, along with rolling the quads, hamstrings and calf muscles.

3. Rolling your lower back

The body contains many joints, each of which has a specific job to do. The lower back is generally designed to be a strong stable core, from which other body movements can take place. There is no need to roll the lower back, as true stiffness is rarely the problem. More commonly the hips and upper back are tight, which then leads to compression through the lumbar spine.

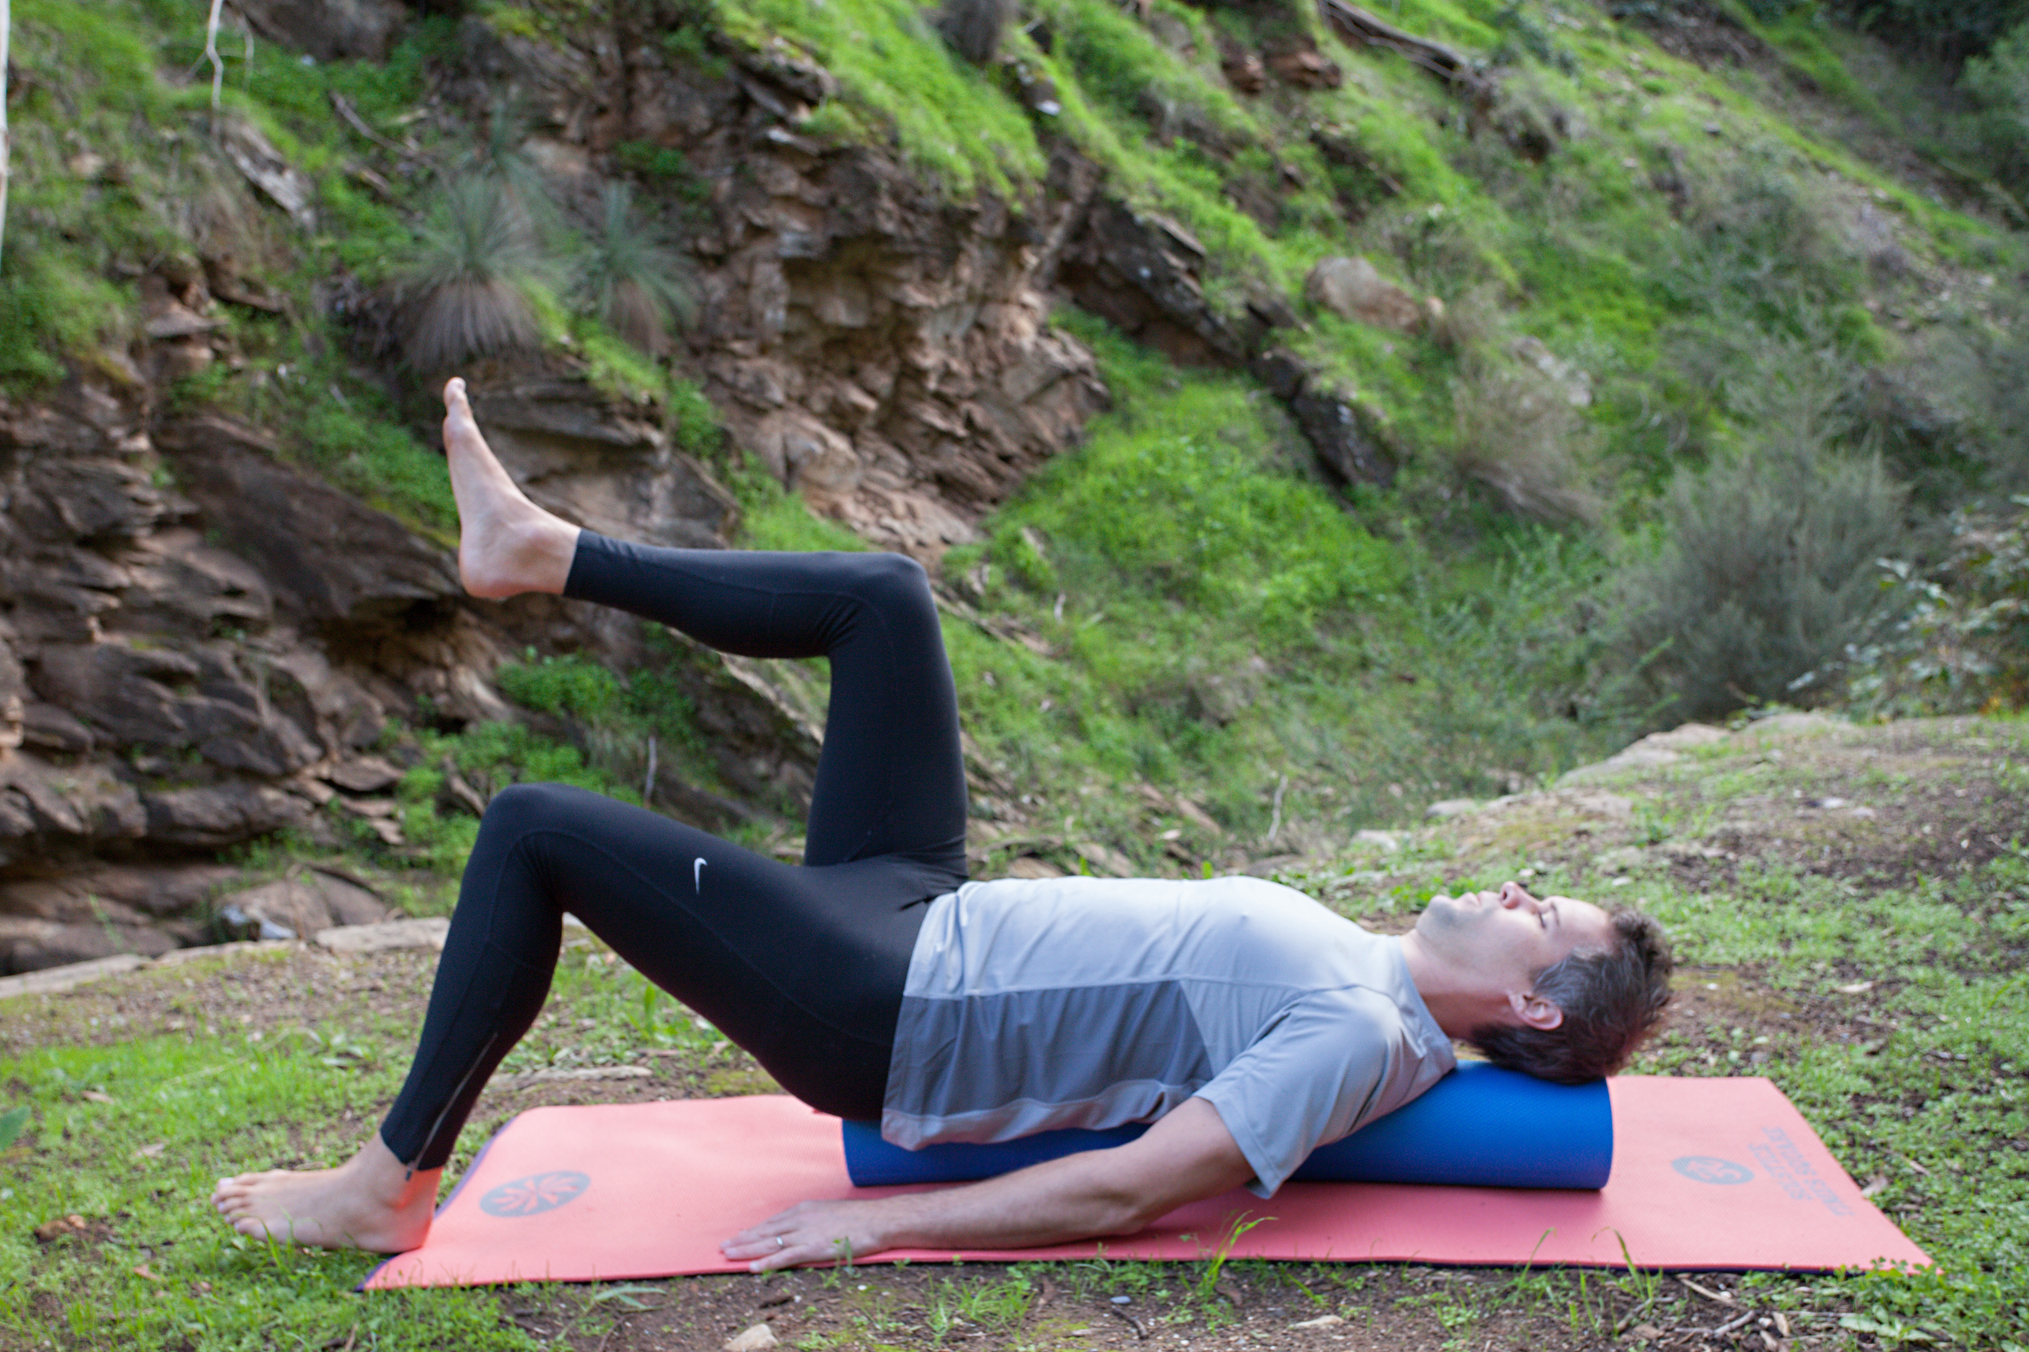
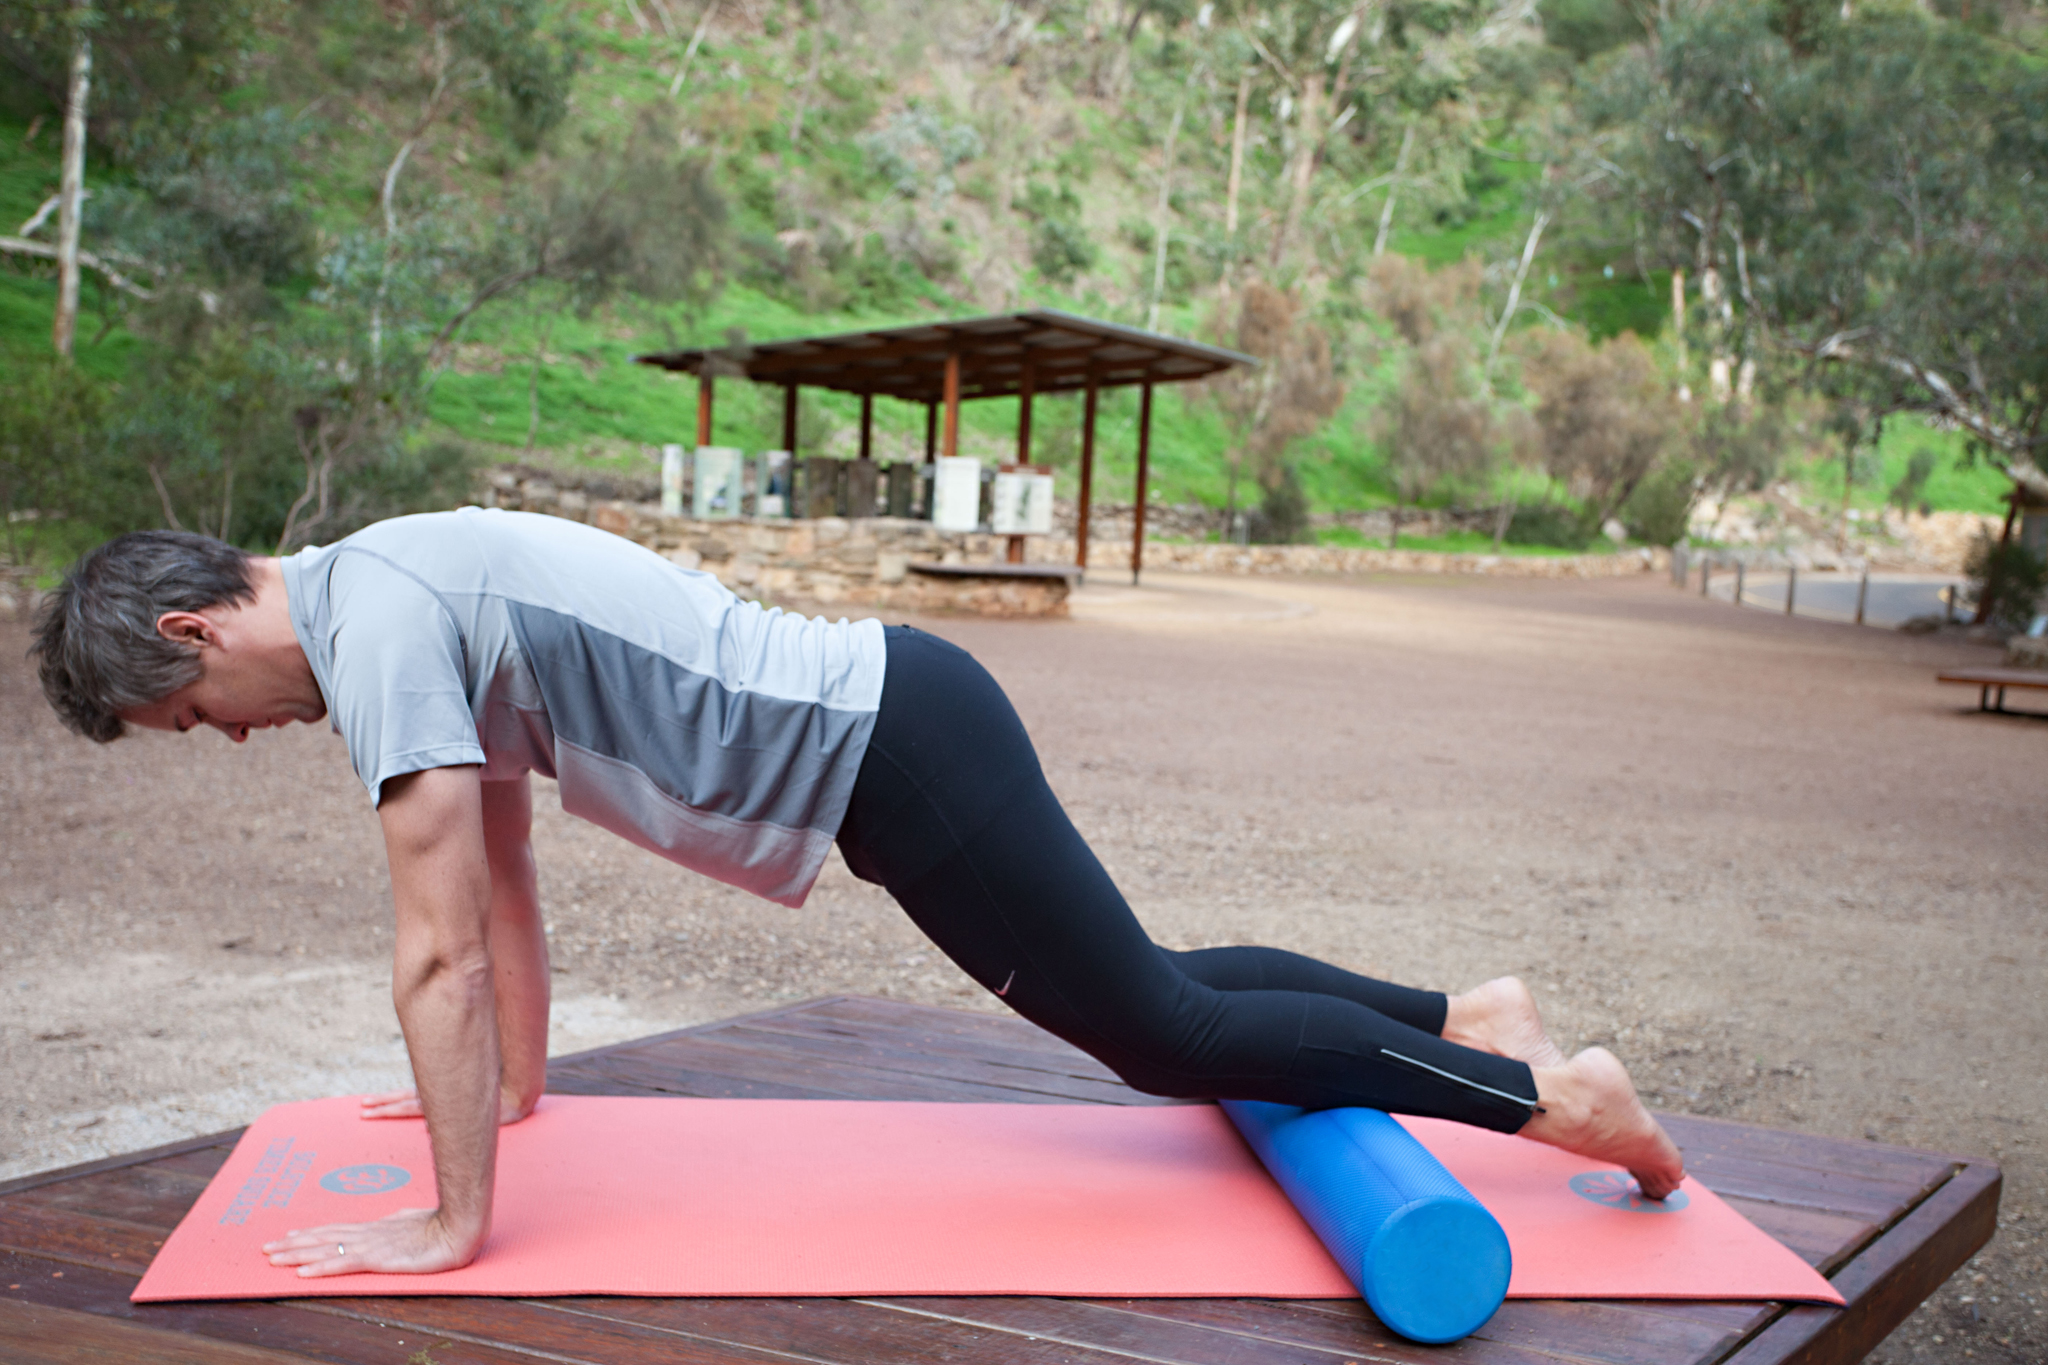
4. Using bad posture

Foam rolling involves lots of different positions. Good body awareness and core stability are important to ensure you don’t injure yourself. In general, try and maintain a neutral spinal zone.

5. Rolling too quickly over major muscle groups

Slow, focused rolling is better for big muscles like the quads, hamstring and calves. Pay attention to your body and if you come across any particularly tight areas you can hold the pressure there for up to 30 seconds, as the muscle slowly releases. If the muscle doesn’t release or you feel any unusual symptoms like pins and needles, it may mean you are compressing a nerve. Please consult with your physiotherapist for further advice.

Click HERE for more information about our next Introductory Foam Roller Workshop

5 Foam Roller Exercises To Strengthen Your Core

You may think of your foam roller as just a tool to help soothe your achey muscles, but it's actually a great piece of equipment to add to your core workouts as well. Adding an unstable surface, such as a foam roller increases the demand on the core stabilizers. These muscles help to support your posture and protect your spine. These exercises will put you on the fast track to building a solid foundation.

Be sure to check with your health care professional before you try these, especially if you've had an injury.

1. Dying Bug

Lie on the foam roller with your head and hips supported. Maintain neutral spine (slightly arch your lower back) and slowly bring the right hand to the left knee. Slowly extend the arm and leg away from the body. Repeat 10 times on each side.

2. Heel Taps

Maintain a neutral spine (slightly arch your lower back) while slowing dropping one heel down to touch the ground. Keep the same angle in the knee throughout the entire movement. Place your hands on your chest for more of a challenge. Repeat 10 times on each leg.

3. Bridge

Keep arms by your side and push down through the heels, lifting the hips up into a full-bridge position. Keep your knee, hip and shoulder aligned, but don’t overextend your spine. Hold for three breaths, feeling a contraction through the gluteals (back of the hips). Repeat 5 times. If you feel your hamstrings over-activating, bring the roller closer to your hips.

4. Plank

Rest your forearms on the roller and lift into a plank. Relax your neck and shoulders. Hold for three deep breaths. For more intensity, gently move roller up and down with your arms, without moving your spine

5. Knee Stretch

Keep your spine in neutral while you move the roller up and down, hinging at your hips. Use your abdominals to control the roller.