How to develop mental resilience after an injury

We have an acronymn for the physical side of injury - RICE (Rest, Ice, Compression, Elevation) that works well and is easy to remember.

But the mental side of how you deal with an injury is arguably more important.

Our beliefs, attitudes and emotions about the situation can set the stage for effective healing to begin.

That is why we have come up with another version of RICE, a simple mantra you can go through in your head in less than a minute, and hopefully set the stage for a positive healing experience after an injury.

Screen Shot 2020-03-09 at 1.27.59 pm.png
  • Resilient - the human body is an incredibly resilient self-healing machine

  • Intuitive - allow space and openness to listen to the wisdom of the body

  • Capable - what’s your current capacity relative to the demands of your sport and life?

  • Equanimous - calmness and composure in a difficult situation

Please see below for a more detailed breakdown of each word.

I hope this information empowers you to lead a healthy and enjoyable life, with confidence in your body.

Dan

Warning: if you are unsure why you are getting pain, please ensure you consult with an appropriate health care provider.

Resilient

Our bodies our are incredibly resilient and robust.

Think of when you have accidentally cut yourself - and how quickly it heals within a few days, without you even thinking about it.

Our bodies are essentially powerful super healing machines - our job is to provide the best environment to support the process.

Find an exercise or movement that doesn’t aggravate your pain or injury and focus on that until you feel better, keeping your blood pumping and endorphins flowing.

Vulnerability and Fragility

One thing injuries can do is make us feel vulnerable and fragile.

Fearing further injury can lead us to over-protect (see below).

This can lead to less movement, in an attempt to protect the area from further damage.

It can also lead to increased muscle tightness by bracing to protect, which can lead to some compensations and stress in other parts of the body. 

course016-fear.jpg

Of course some rest and recovery is needed in the short-term.

At the other end of the spectrum, some people are really good at ignoring and pushing through their pain.

So where should we draw the line between too much and too little activity?

Monitoring your symptoms during exercise and for the 24 hours following can be very useful guide (see below).

Pain up to 5/10 is considered acceptable and to be expected.

26230254_1766419206721981_7449245514448806023_n.jpg

After an injury, it is natural to feel a little vulnerable.

But always remember you’re not fragile, weak or damaged.

If you’ve ever worried about degeneration or wear and tear, I would highly encourage you to read this book by Dr John Sarno. In particular the first chapter, titled ‘Structural Abnormalities Rarely Cause Pain’.

And if you need any more proof of the resilience of the human body, consider these stories:

aa162c000906524419739e7cd3ef54aa.jpg

Intuitive


Your Body Always Knows What To Do And It’s Always Trying to Communicate With You - Are You Listening?

It can be confusing when you have an injury… but if you allow some space and openness to listen to the wisdom of the body, you may have a better chance of hearing it’s message.

CoxD8WhW8AAlV3H.jpg

As for most things - a balance of logic and intuition goes a long way to getting you on the right track.

In this day and age with technology and devices so pervasive, it is becoming much more challenging to maintain strong lines of communication with the body.

We are living in our heads so much, the body has almost become an abstract concept!

Interoception

Interoception is the ability to sense internal messages coming from the body, such as heart rate, hunger, nausea and emotions.

Interoception also refers to being able to feel sensation coming from muscles such as tightness and tension.

61lLL3ybZJL.jpg

What is very interesting is that the researchers have shown that people who have had chronic pain, stress or trauma in their lives have a decreased interoceptive ability.

This means, they have a limited to ability to hear what they body is telling them and change their behaviour appropriately, setting the stage for injury to occur.


We all have the ability to increase the capacity of our internal awareness.

It takes an investment in time, practice and curiosity.

Tips to improve interoception:

  • develop a mindfulness based practice such as yoga, pilates, gym or running

  • spend time in nature walking barefoot

  • get regular massage / dry needling

  • use a foam roller / spikey ball

  • learn about heart rate variability training

    Just a warning, as you increase your interoception, you may become more acutely aware of things going on in your body. This is a normal process, but can be a little overwhelming at times.

    Working with a health care professional or teacher who is sensitive to your needs can help accelerate your powers of intuition and interoception in a safe way.

Never forget you know your body best and what works and what doesn’t.

Have trust and faith - there is a deep wisdom encoded into every cell in your body, based on millions of years of evolution.

For a really great read on interoception, click here.

Capable

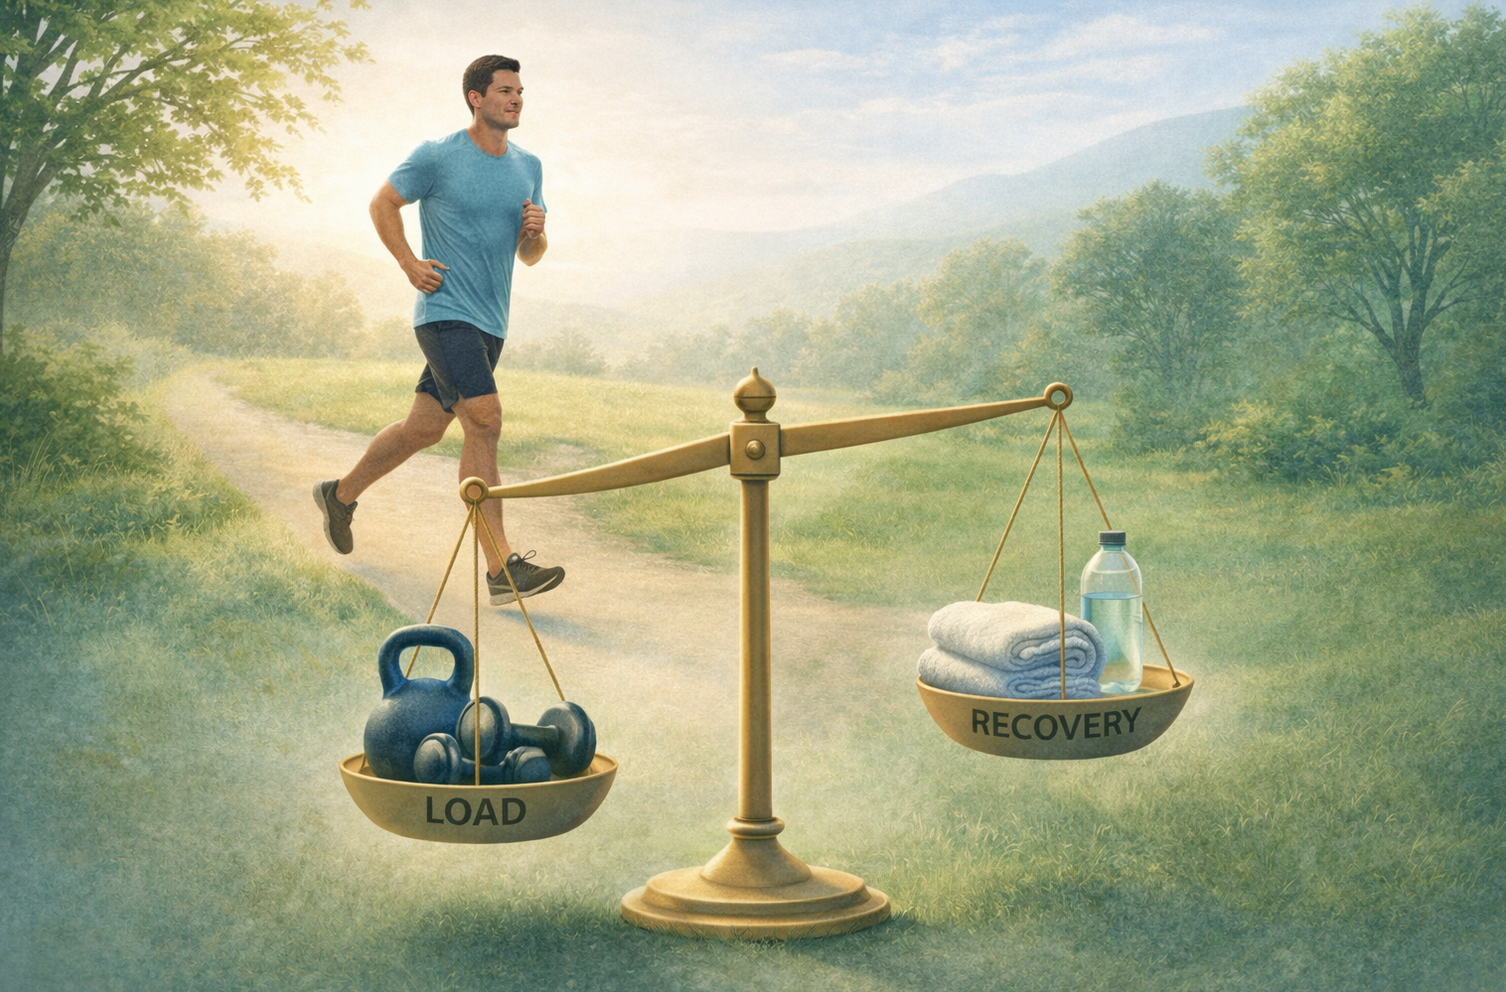
Capability = CAPACITY minus DEMANDS

Always keep this picture in mind!

Always keep this picture in mind!

What’s Your Current Physical Capacity Relative to the Demands?

Some research would suggest around 80% of injuries are due to ‘too much too soon’ where the demand is far greater than your current capacity.

You may need to more gradually stress your tissues and allow time for adaptation to occur.

“Long term consistency trumps short term intensity” - Bruce Lee

For more detailed info on load management please see here.

“Always be building your capacity”

In life we know there will always be times when you will be getting sick, under extreme stress (or fighting the threat of a global pandemic).

So when things are relatively calm and stable, it is worth investing time and energy into building your physical and mental capacity so you are able to effectively deal with the challenges that will come your way.


Equanimous

Equanimity = calmness and composure especially in a difficult situation

This is probably the hardest one to master.

Could you re-conceptualize an injury from a problem to be avoided to an opportunity to learn more about your body and become more robust and resilient?

index.jpg

Equanimity is a revered emotion and an attitude that is cultivated by a number of major religions and ancient philosophies.

Treat success and injuries the same.

Develop a growth mindset.

Injury isn’t always a bad thing - story of the horse who ran away - bad luck vs good luck - it doesn’t actually exist.

Everything happens for a reason.

Ultimately injuries provide us an opportunity to learn more about our bodies and grow stronger and more resilient in the process.

Worrying about an injury is a low-vibrational state.

Figuring out what you can put your energy into will bring about a faster resolution of symptoms as well as taking your focus off any negative emotional states.

So next time you have an injury, please think RICE:

  • Resilient - the human body is an incredibly resilient self-healing machine

  • Intuitive - allow space and openness to listen to the wisdom of the body

  • Capable - what’s your current capacity relative to the demands of your sport and life?

  • Equanimous - calmness and composure in a difficult situation

If you have found this useful, I’d love you to let me know by leaving a comment below.

How To Run Faster - Without Getting Injured

How To Run Faster - Without Getting Injured


  1. Run More

The number one way to improve your running is to run more and gradually increase your weekly volume.

Every step you take improves your technique making you more efficient, builds mitochondria in your muscles that help make you a powerhouse.

Take any option to run more during the week and maybe even throwing some ‘doubles’ into your day where you run in the morning, and then again later in the day.

As you gradually build your volume, fitness will naturally finds it way to you, rather than you having to ‘chase’ fitness.

And don’t worry about your pace too much, think more about ‘time on your feet’.

“Train, don't strain.” - Arthur Lydiard


2. Get Your Volume / Intensity Balance Right 

One of the common mistakes new runners make is increasing too many things at once - e.g. both pace and volume, especially if they have an event on the horizon. 

Running too much in your high intensity zone is stressful for your body and can lead to increased stress and strain on muscles, tendons, bones and joints. 

To find your optimal running paces - you need to know your current best times over a 3k or 5k distance. 

Then you can put this time into an online running calculator (e.g. Luke Humphrey Running Calculator).  This will then give you a breakdown of ideal your training paces for your long easy runs, threshold runs e.t.c.  

It also gives you a realistic time goal to work towards for your big running goals such as the marathon. 

3. Strength Train 

Identify your key weak links with the help of a running physio and then you can focus on building resilience and turning your weaknesses into your strengths.  Strength training can be easily done at home after a run - it shouldn’t take more than 10-15 mins x 2 per week. 

4. Recovery 

Effective recovery is the key to absorbing the benefits of training and progressing as a runner.  Getting enough carbs to fuel your running and enough protein to re-build your tissues is critical.  Sleep is a big one to help ‘press save’ on your training. Keeping your soft tissues healthy with regular body tuning / panel beating with massage/foam rolling/dry needling is useful. 

5. Shoes 

Having a good pair of shoes that suits your foot is key - getting assessed by a podiatrist or physio can be invaluable in helping your find the right shoe for your foot.  Rotating your shoes regularly and updating them before they are too worn is important in protecting your feet and legs.

BONUS TIP

To run faster - rather than striding out - that can add stress to your lower limbs, keep your cadence high and lean forwards from your ankles. Gravity will pull you forwards and all you need to do is pick up your feet behind you. A much more efficient way to run.

Is it worth foam rolling your ITB?

If you walk into any gym, you may see someone sadistically foam rolling their ITB, making all sorts of interesting faces.

The ITB, if you are unsure, stands for Ilio-Tibial Band - that is the long fibrous tissue that runs from the hip down to the knee along the outside of your thigh (see pic below).

An irritated ITB can lead to pain and inflammation in the outside of the knee, especially in runners and cyclists. If not addressed early, this can lead to ongoing pain and can be tricky to manage.

Screen Shot 2020-03-29 at 8.20.12 pm.png

To roll or not to roll?

Recently there has been a lot of noise being made about the fact that regular foam rolling and stretching doesn’t physically change the ITB at all.

Some researchers point out that it is impossible to ‘release’ your ITB with a foam roller because it takes thousands of kilograms of pressure to change it.

Proponents for the foam roller say that it helps keep the tightness under control and prevents runner’s knee.

Who is right?

Well yes the ITB is made from very tense connective tissue are it probably doesn’t change all that much. And I’d definitely agree you can easily stir things up if you are constantly and aggressively rolling.

And you don’t want to have super loose ITB’s either - having strong and resilient ITB’s are an important part strong and efficient running form.

Ideally, you want to have them ‘in-tune’ like a musical instrument - not too tight or too loose.

What is really happening when you roll?

While it is hard to say for sure, I suspect most of the benefits from foam rolling are coming from what lies directly under the ITB. Here you’ll find one of the quad muscles called the Vastus Lateralis (see diagram below).

When you look at the above picture, you could easily believe that the ITB is the main player on the outside of the thigh.

However, on closer inspection, the diagram below gives a much more accurate picture, showing the relative density of the ITB compared with the huge Vastus Lateralis (VL) on the left of the picture.

Cross section area: ITB vs VL (Vastus Lateralis)

Cross section area: ITB vs VL (Vastus Lateralis)

As you can see, while the ITB gets all the attention, the vastus lateralis has a huge cross sectional area and is the real workhorse of the leg.

The vastus lateralis muscles tend to become overloaded with lots of downhill running, squats and lunges.

Some muscles in the body due to their anatomy and location, are impossible to stretch effectively. The vastus lateralis is one of them.


Over time, one of the most common causes of pain on the outer side of the knee is from a build-up of tightness in the vastus lateralis (see trigger point referral patterns below).

So learning how to maintain flexibility by foam rolling in this area is hugely important to keep your knee and hip joints moving well.

How to foam roll the Vastus Lateralis:

Benefits to foam rolling the ITB/vastus lateralis:

  • improved short term flexibility and blood flow

  • releasing the muscles under the ITB (Vastus lateralis)

  • stimulate the para-sympathetic system to activate the healing and recovery process

  • connecting with your body and bringing awareness to any overly sensitive or tight areas

Things to keep in mind:

  • avoid rolling directly over the outside of the knee and hip joints

  • should never feel more then 5/10 pain. Regulate the pressure by using your upper body and core if needed. In the words of John Rusin, “Stop mindlessly foam roll like a jackass.”

  • if you’re getting ongoing tightness, you need to get to the root cause! Consider contributing factors such as shoe wear (time for a new pair?), training habits, too many hills, inadequate glute strength and capacity, inadequate carbohydrates before and during your run, inadequate protein for recovery

  • don’t bother trying to actually stretch the ITB - it’s anatomy is too complex to get an effective stretch

When to roll:

  • if you have extremely tight leg muscles, you can roll gently before you exercise (30-60 secs max)

  • the best time to roll is after you have finished exercising, when the muscles are warmed up

Conclusion:

  • above all listen to your own body - if it feels good to you, then keep foam rolling your ITB and outer quads

  • don’t spend too long foam rolling (2-3 mins total time to roll the major muscle groups) after you exercise is enough, with perhaps one longer stretching session per week

  • an even more effective approach, target the vastus lateralis with the foam roller by rotating 45 degrees onto your front, and slowly bend and straighten your knee as you roll

  • if you’re getting ongoing tightness and pain in the ITB, seek professional help with a Physiotherapist to help identify contributing factors

Questions?

Please leave a comment below…

More from the blog:


4 Tips To Stay Accountable To Your Fitness Goals

It’s not always easy staying committed to your health and fitness goals, so here are four tips to help you stay accountable and enjoy the process along the way.

  1. Sign up for an event

Putting your money on the line by signing up for a race or event can be an excellent motivator to begin your training.

Maybe it’s an event 3-6 months from now.

It should be something big and exciting and that is currently out of your reach.

Your journey of transformation begins…

2. Let others know about your goal…or join Strava

Once you set a goal, it’s important to find other like-minded people for accountability.

If you set a goal with a friend, you can hold each other accountable with regular training sessions.

The power of social support can be huge and shared training experiences can enhance our individual training and performances.

If you do a lot of training on your own, the Strava app can be a way to connect you to a great community.

3. Write down your ‘why’ and all the benefits of achieving your goal

Stick it on your fridge so when the tough gets going a few weeks down the track, you have a strong reminder to push you through the times of low motivation and when life tries to get in your way.

It can also be helpful to write down a list of things that would happen if you don’t achieve your goal.

4. Focus on the process & use your motivation to plan the journey

Setting the goal is the first step, but then you need to break the goal down into the smaller steps that will help to achieve your goal successfully.

Work backwards from your goal, writing the weekly and daily training you will do to gradually build up.

80% of the fuel to get a rocket off the ground is used in the first 10 seconds, meaning that your initial motivation should be put into setting up your schedule to make your training easy and natural, without having to think about too much or continually generate motivation.

Putting your energy and motivation into setting up good training habits can pay big dividends later on in the journey.

The Power of Push-ups

The Power Of Push-Ups

The push-up is a great barometer of your fitness and is one of the most important foundational movement patterns.

And now, a research study has shown a strong correlation between the number of push-ups you can do and your cardio-vascular health.

This study sponsored by the National Institute for Occupational Safety and Health showed the number of push-ups in a row achieved (40 for men, unfortunately this research study didn’t include women), was an amazingly accurate marker, that can predict a 96% lower risk of a future cardiovascular disease event (CDV).

According to the study, participants had to do the pushups "in time with a metronome set at 80 beats per minute”. Clinic staff counted the number of push-ups completed until the participant reached 80, missed 3 or more beats of the metronome, or stopped owing to exhaustion or other symptoms (dizziness, lightheadedness, chest pain, or shortness of breath).

Cardiovascular diseases ranks as the number cause of death worldwide, and while the exact link between heart disease and push-ups is not fully clear, it would make sense to throw in some push-ups into your routine.

Benefits of push-ups:

  • build up the triceps, pectoral muscles and shoulders

  • strengthen the shoulder stabilisers (serratus anterior), leading to less pressure on the neck

  • when done with proper form, they can also strengthen the lower back and core

  • can be done anywhere at any time, with no special equipment or gym membership

Particular benefits for older people:

Researchers who study the biomechanics of aging, for instance note that push-ups can provide the strength and muscle memory to reach out and break a fall.

When people fall forward, they typically reach out to catch themselves, ending in a move that mimics the push-up. The hands hit the ground, the wrists and arms absorb much of the impact, and the elbows bend slightly to reduce the force.

People lose as much as 30 percent of their strength between 20 and 70. But regular exercise enlarges muscle fibers and can help stave off the decline.

How to safely increase the number of push-ups you can do:

I thought I would give you a quick guide to incorporating push-ups into your routine safely.

Over the years I have seen many people get motivated and take part in a ‘push-up challenge’. Unfortunately, it all too often ends up leading to an overuse injury which can take some time fully recover from.

Firstly, it’s important to get your form right and this video gives some good tips:

Push-up tips

  • Try and avoid letting your elbows drop right out to the side (think of keeping your arms in an arrow formation).

  • keep the body in a straight line from the head to heels

  • keep the shoulder blades drawn together and down

  • don’t allow your lower back to arch

Push-up variations:

It really doesn’t matter what type of push-ups you do, as everyone has a different base to start from.

If pushups on your feet are too difficult at first, modify the exercise:

Do them against a wall or a bench.

You can also modify the distance your drop your chest to the ground. If you’re struggling to get right down, just go down half or a quarter of the way down to begin with. As you progress and build your strength, you can experiment with lowering down further.

Start your SAFE push-up journey here —>

As they say, ‘exercise is medicine’ and the most important factor in your success is getting the dose right.

The final part of this blog will show you how to safely and sustainably incorporate push-ups into your routine.

FIND YOUR CURRENT PUSH-UP CAPACITY:

Do as many push-ups as you can with good form until you feel the muscles shake, you feel pain or you simply cannot do another.

This will give you a base number to work with.

Out of interest you can compare your current push-up fitness to the guidelines shown in the graph below.

Average-push-up-standards.png

NEXT —>

One of the common training errors with push-ups is trying to max out every set to fatigue.

While this strategy can lead to quick muscle gains, it commonly leads to poor form, creating additional strain on the joints, increasing the chances of injury to the shoulder, neck and wrist.

Instead, take your maximum number of push-ups, and multiply it by 0.7

This will give you a number that is 70% of your current max. push-up number.

For example if your max was 10 pushups, 10 x 0.7 = 7

7 push-ups is now considered the optimal number to complete for each set - you should feel a mild strain but not too much.

The goal will be to complete 5 sets of 7 push-ups three times per week.

Take 1-2 minutes between sets. In this time, you could work on other muscle groups e.g. plank for the core.

In this way, we are going to safely build the number of push-ups you can do but never pushing you too far in terms of fatigue or risking injury with poor form.

Prioritizing volume over intensity will help build your form, confidence and strength.

After 2 weeks, re-test your maximum number of push-ups again.

Hopefully your number should be a little higher, and then you can repeat the same formula as above.

The beauty of this formula is that it allows you to build your strength safely, without risking strain or overload in your shoulders.

Keeping your RPE (Rate of Perceived Exertion) at or just below 7/10 will prevent injury and allow you to build your shoulder strength.

Gradually building up your low-intensity volume of push-ups is the goal, so when you attempt your max push-up number, you will have a solid base of support to achieve your goal.

Trouble-shooting

Shoulder or neck pain

If you do get shoulder or neck pain, it may be wise to reduce the depth of your push-ups initially to only a half or a quarter of the way down.

Wrist pain

Wrist pain is really common when first starting out with push-ups and it’s important to really listen to your body and not push through the pain.

If you have wrist pain or instability, gradually loading them up with push-ups will help in the long run, but you will need to build up slowly over time. It would be best to only do push-ups 2-3 x per week to allow your wrists to recover adequately between sessions.

To avoid wrist pain, your hands should be about shoulder width apart and close to your chest. At the top of the push up, your hands should be directly under your shoulders. Placing your hands in front of or behind the shoulder will increase pressure on your wrists.

Some options (shown below) to take pressure of your wrists:

  • using a closed fist

  • using push-up bars or some dumb bells

  • using a mat under your wrists to avoid the end of range extension position

If you’re sore, use ice on your wrist to decrease inflammation, and if it’s not settling, checking in with your physio would be a good idea.

Push-up Progressions:

If you are looking some variety in your push-ups, you can try the push-up plus that primarily activates the serratus anterior, an important shoulder stabiliser muscle.


Another option is doing push-ups with your feet resting on a swiss ball which can add a nice dynamic element:

Stretches to include after your push-ups:

Keep your upper body supple and aid recovery with these three stretches.

Pecs

Pecs

Triceps

Triceps

Lats

Lats

If you have any issues incorporating push-ups into your routine, please don’t hesitate to get in touch.

Book online


Screen Shot 2020-01-15 at 12.02.56 pm.png